Round filters are currently enjoying great popularity again. They are a compact and lightweight alternative to square filter systems and literally fit into any pocket. So if you want to travel with light photo equipment only, you should consider purchasing round filters. I myself look back on a long time with screw filters, which I have already liked to use at analog times. At that time I mainly carried UV and pole filters with me in my photo bag. A little later, the most important ND filters were added. A few years after switching to a square filter system, I became convinced that rectangular filters alone do not make you happy, or that they do not cover all areas of application and that a set of round filters belongs in every well-assorted equipment.
For which filters is it worthwhile to purchase and which glass is currently less advisable? The product range is large and sometimes confusing. Again and again I read about advice on social media that is ill-founded and I just can’t understand. Often, a subjective user opinion is simply given to the best or what is heard is passed on unfiltered.
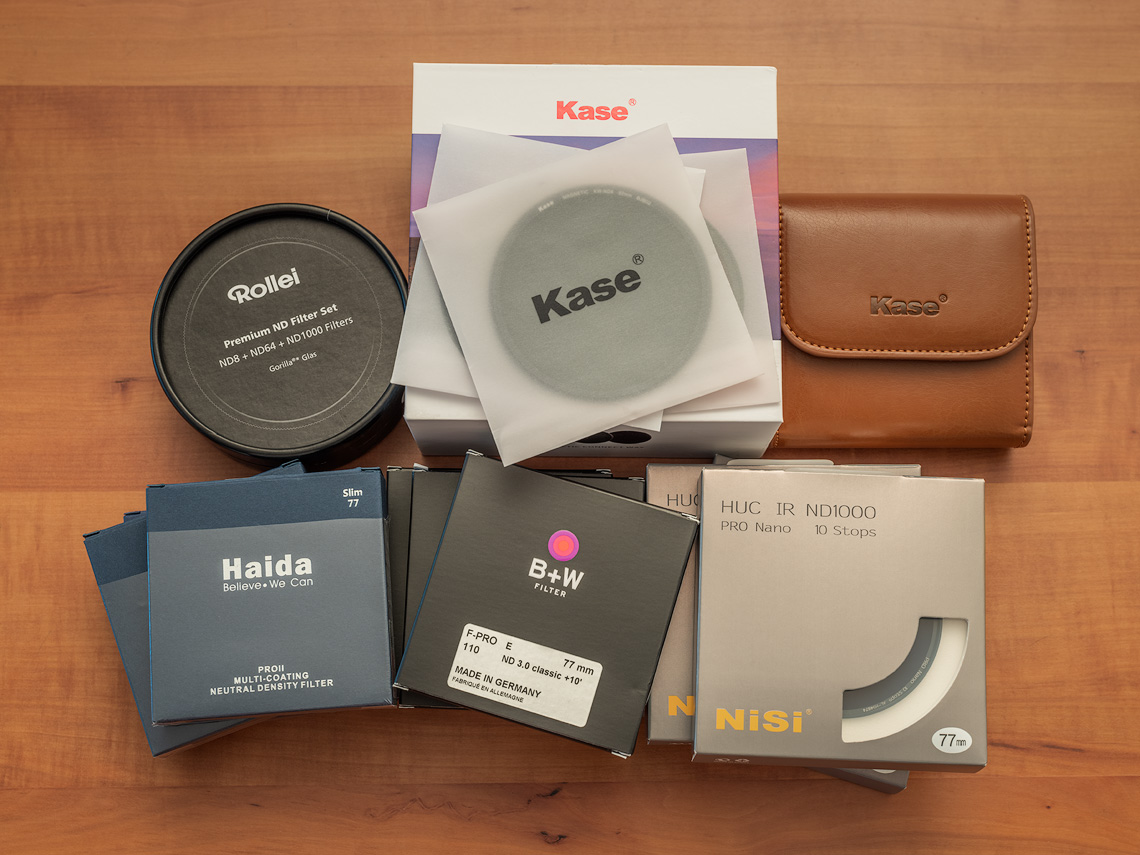
For this blog post I took the trouble to shed some light on this segment of the filter market. When selecting my test candidates, I limited myself to the five manufacturers on the market that were most frequently mentioned in purchase consultations online and of whom one reads again and again. From each of these manufacturers I have purchased the standard strengths 0.9 8x, 1.8 64x and 3.0 1000x. All test products come from regular trade sources, i.e. no selected material by the manufacturer in order to perform well in tests.
Candidate 1: B+W Schneider
The manufacturer of the B+W Filters, the Schneider Group, is a German group of companies that has been producing high-performance lenses and filter systems for industrial, film and photo sectors for many years. The screw filters of B+W Schneider Kreuznach are thus the top-class classic among the tested candidates. Many years ago I had already ventured into my first long-term exposures and even today the optical products by Bad Kreuznach have a resounding name among experienced photographers.
The following three B+W ND Filters took part in the test:
- B+W 1089183 ND8 77mm MRC Nano XS-Pro 8x Coated Slim Premium
- B+W 1089230 ND64 77mm MRC Nano XS-Pro 64x Coated Slim Premium
- B+W ND1000 77mm E, F-Pro multi coated Professional
Candidate 2: Haida
There are probably few photo enthusiasts who have never heard of Haida. The optical filters of the Chinese manufacturer, whose full name is Ningbo Haida Photo Supplies, are widely known and popular among photographers. The company was founded in 2007 in Ningbo and the name stands for color neutrality at a reasonable purchase price, which can be particularly interesting for price-conscious young photographers on a small budget.
In this test, the Haida Slim Pro II Digital MC Neutral ND Filter Set including Stack Cap Filter Container + Pro Lens Cap with inner handle containing:
- Haida Slim Pro II MC ND 0.9 8x
- Haida Slim Pro II MC ND 1.8 64x
- Haida Slim Pro II MC ND 3.0 1000x
Candidate 3: Kase
Kase Filters is the youngest of the manufacturers, in a sense the newcomer to the high-quality filter market. Their innovative products have been developed in China since 2011 and also with German cooperation and have been available in Germany for about three years. Kase holds various innovative patents, such as the magnetic holding system, which has been incorporated into the round filter set tested here. Product quality and innovation are important principles of the high class manufacturer from Guangdong and, not least because of this, they have already received numerous international quality certificates for their products.
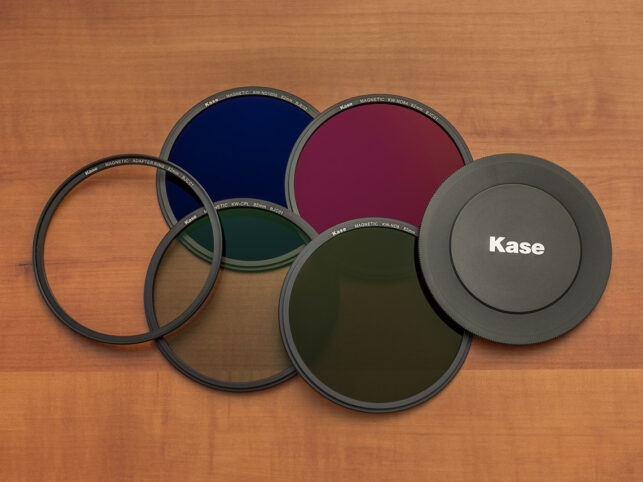
The product tested here named Kase ROUND Wolverine magnetic Round Filter ND Kit:
- Kase Magnetic KW-CPL
- Kase Magnetic KW-ND8
- Kase Magnetic KW-ND64
- Kase Magnetic KW-ND1000
Candidate 4:NiSi
NiSi filters are one of the most widely used optical filters on the German market. Since 2005, they have been developed and manufactured in Zhuhai, China, in addition to other photographic accessories. NiSi filters can be obtained in Germany via Amazon since 2007 and for a year additionally via NiSi Optics Germany. I myself had already photographed with square ND filters of this manufacturer and therefore it was convinced their screw filters will also perform well.
The following three ND filters of the Pro Nano series took part in the test:
- NiSi ND8 Pro Nano HUC IR Slim
- NiSi ND64 Pro Nano HUC IR Slim
- NiSi ND1000 Pro Nano HUC IR Slim
Candidate 5: Rollei
Rollei, undoubtedly one of the great names of the German photo industry. Who doesn’t know them, the legendary Rolleiflex? I was particularly excited about the measurement results with this candidate. Even I had no contact with Rollei before, of course I knew about the changing 100-year history of the company. As part of my research, I finally came across to this German article at digitalkamera.de. It mentions that the name Rollei is no longer supposed to have anything to do with the former stronghold of the photo industry from Braunschweig/Germany. Instead, the new owner of the trademark rights, the RCP-Technik GmbH & Co KG (note: 2015 renamed Rollei GmbH & Co KG) is only to decorate its OEM products with components from East Asian development and production companies in the digital imaging industry with the once resounding German traditional name. That surprised me, which is why I asked the press office of Rollei directly. According to the product manager’s response, the filters were manufactured according to the specifications from Germany in Asia and are subject to strict specifications and quality controls, both during production and on arrival in the German warehouse. Rollei screw filters have been available for purchase in Germany since March 2016 and they have been further optimized.
In the test the Rollei Premium ND Filter Set made of Gorilla glass with aluminum protective cover consisting of:
- Rollei Premium ND8
- Rollei Premium ND64
- Rollei Premium ND1000
Which properties have been tested?
Filters can be used to expose you to countless tests. However, some of them may damage the material (e.g. scratch and crash tests), while others (such as IR permeability, advanced resolution tests) require expensive optical laboratory equipment. In my tests, I used measuring instruments that were available to me and methods that you can also perform at home. I was mainly interested in two things about the products available for testing: color fidelity and accuracy of the lengthening factor. I have learned one thing over the years: there are only very few ND filters on the market that are completely neutral, and the printed lengthening factors seem to be only approximation values; they were almost never achieved.
Key data of the test setup
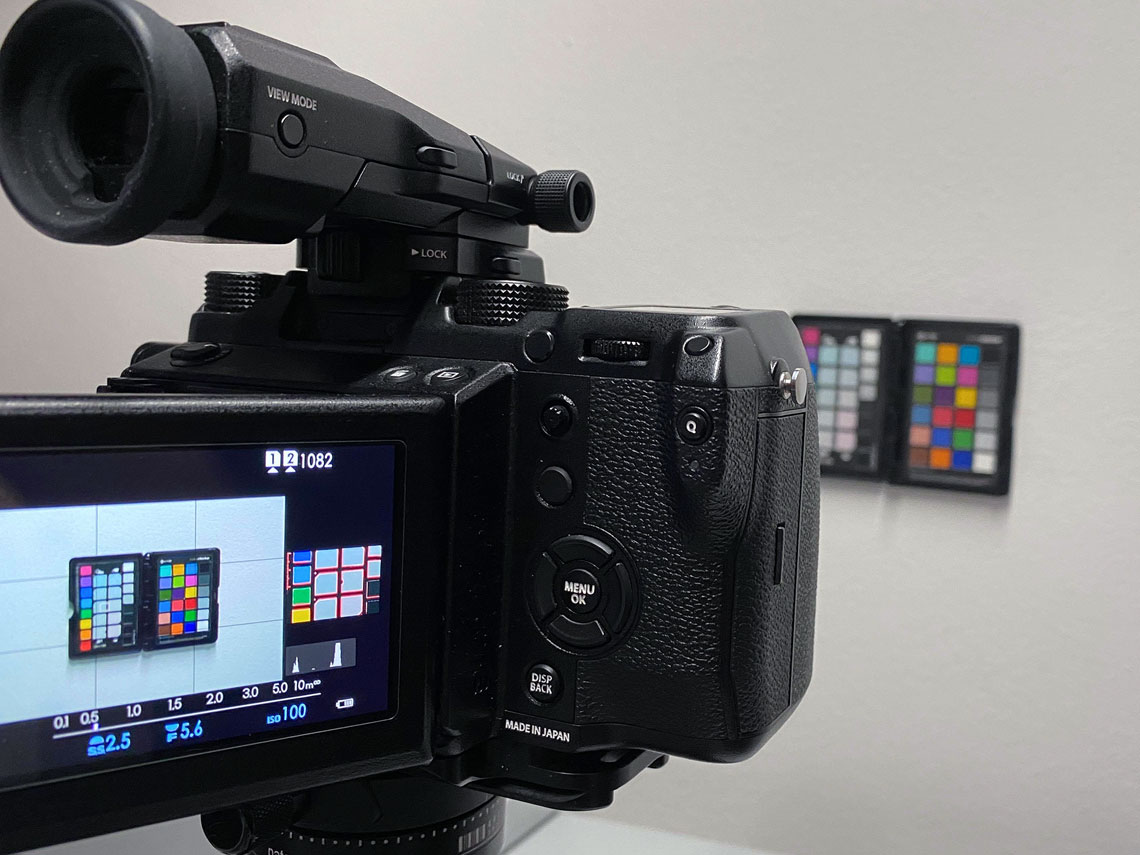
The central measuring instruments were obviously my current camera and existing equipment: a Fujifilm GFX 50s medium format camera with Fujinon GF lenses in combination with an x-Rite ColorChecker Passport. In order to obtain objectively resilient results, I have also set up a test environment that is as free as possible of external influences and in which sufficiently constant lighting conditions prevailed to carry out my tests.
- Room without daylight
- Light source: Philips TL-D 90 Graphica 85W/950
- Test chart: x-Rite ColorChecker Passport
- Camera: Fujifilm GFX 50s
- Lens: Fujinon GF 32-64mm @ 64 mm
- White balance: manual 5000K
- Aperture: f/ 5,6
- Sensitivity: ISO 100
Second and third test setup
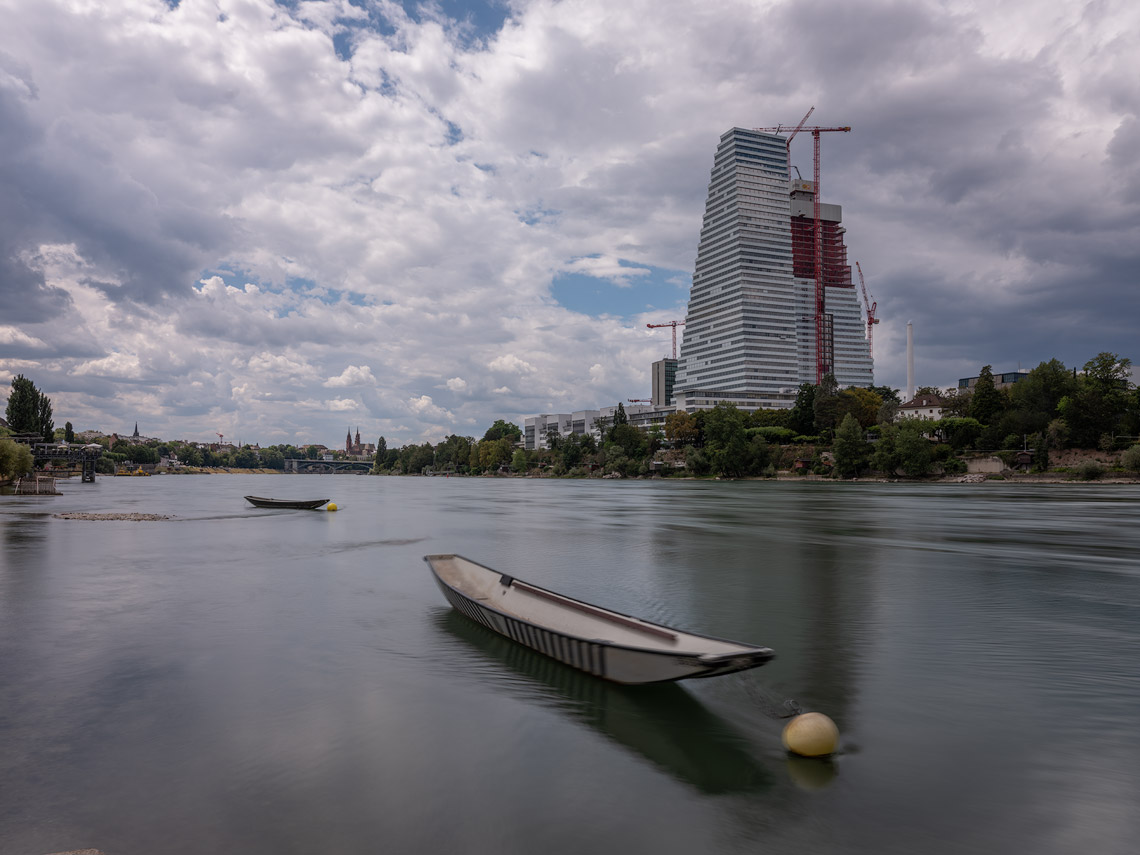
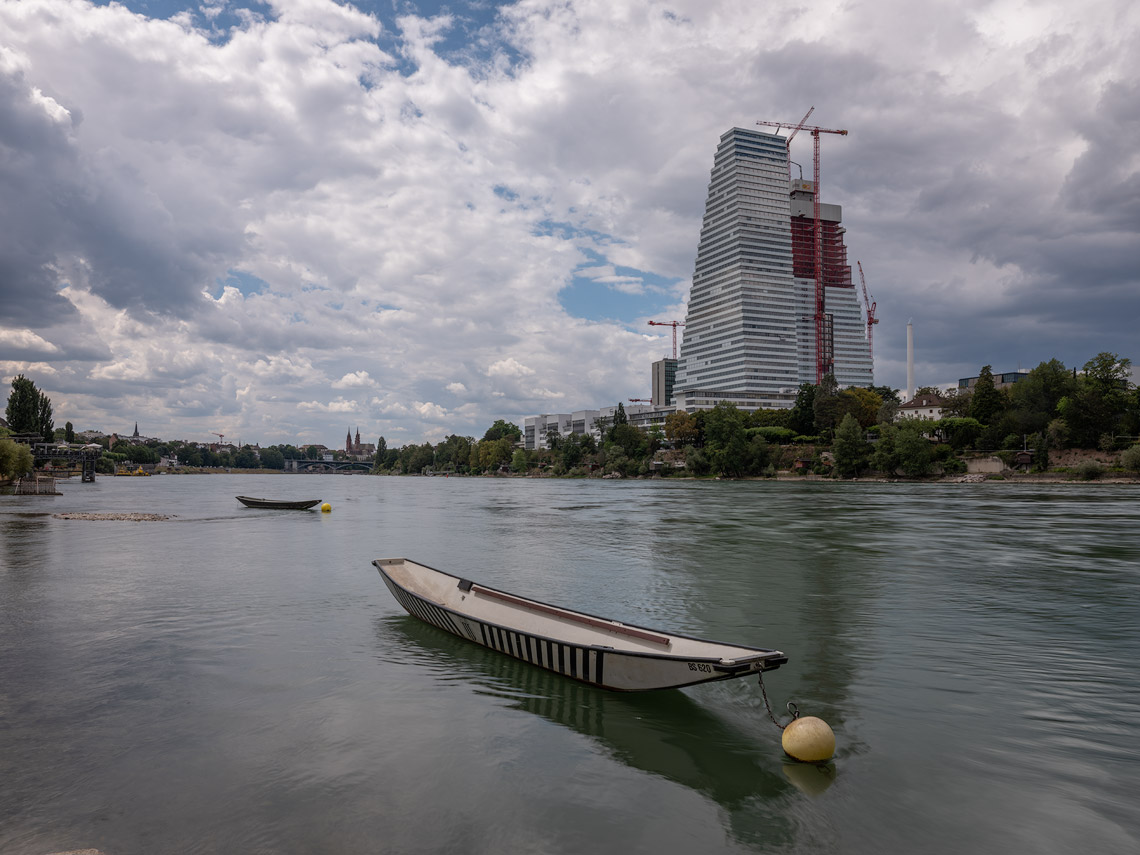
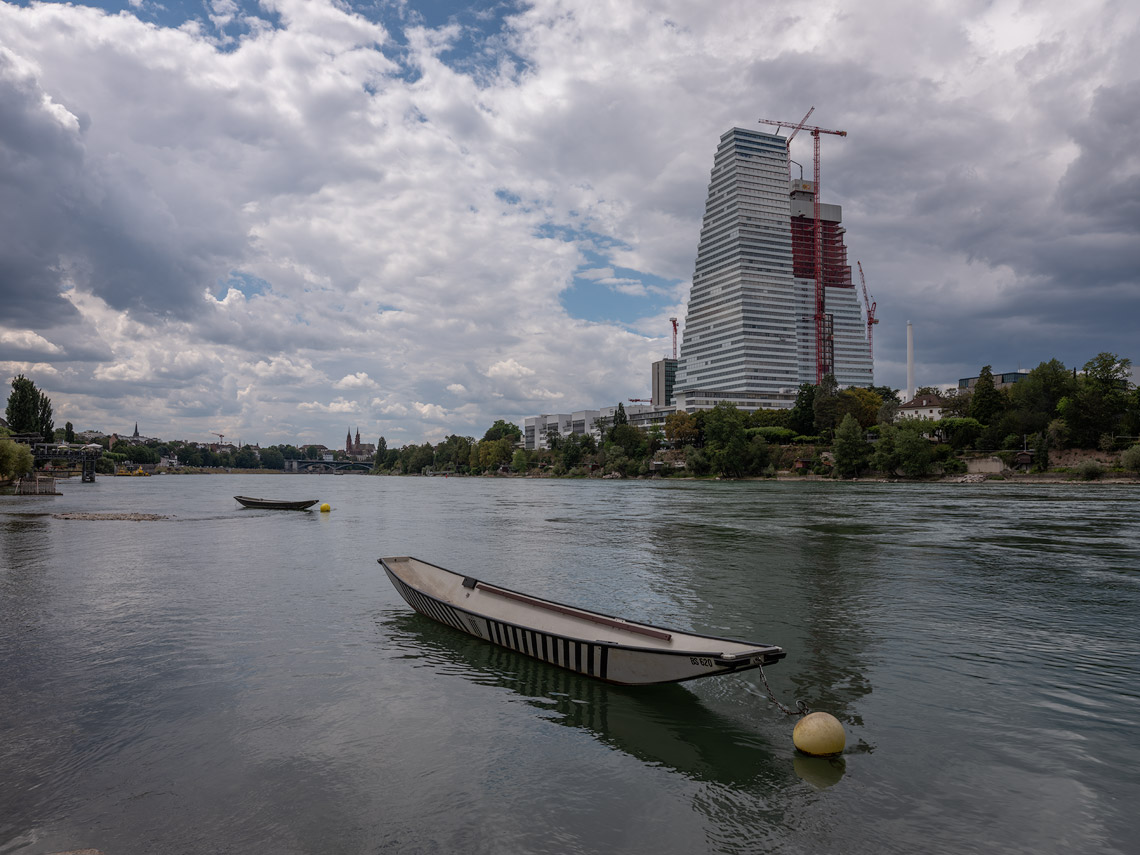
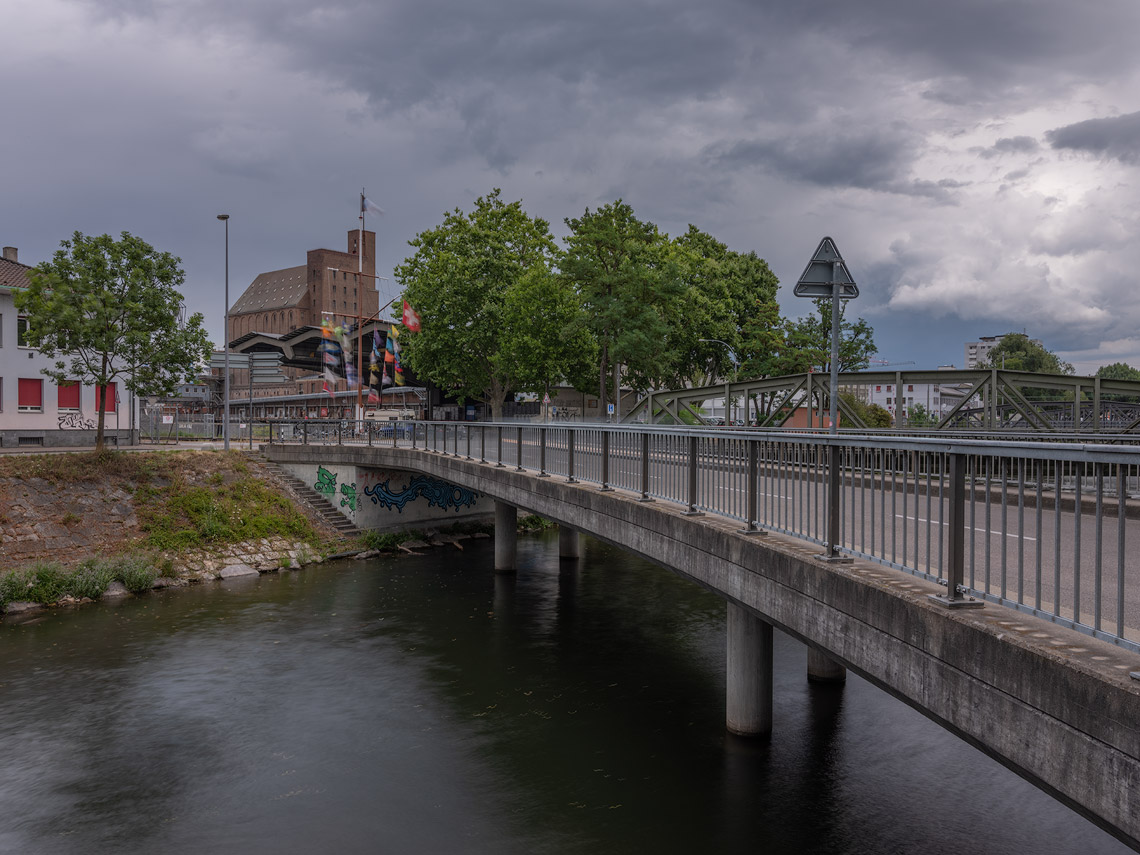
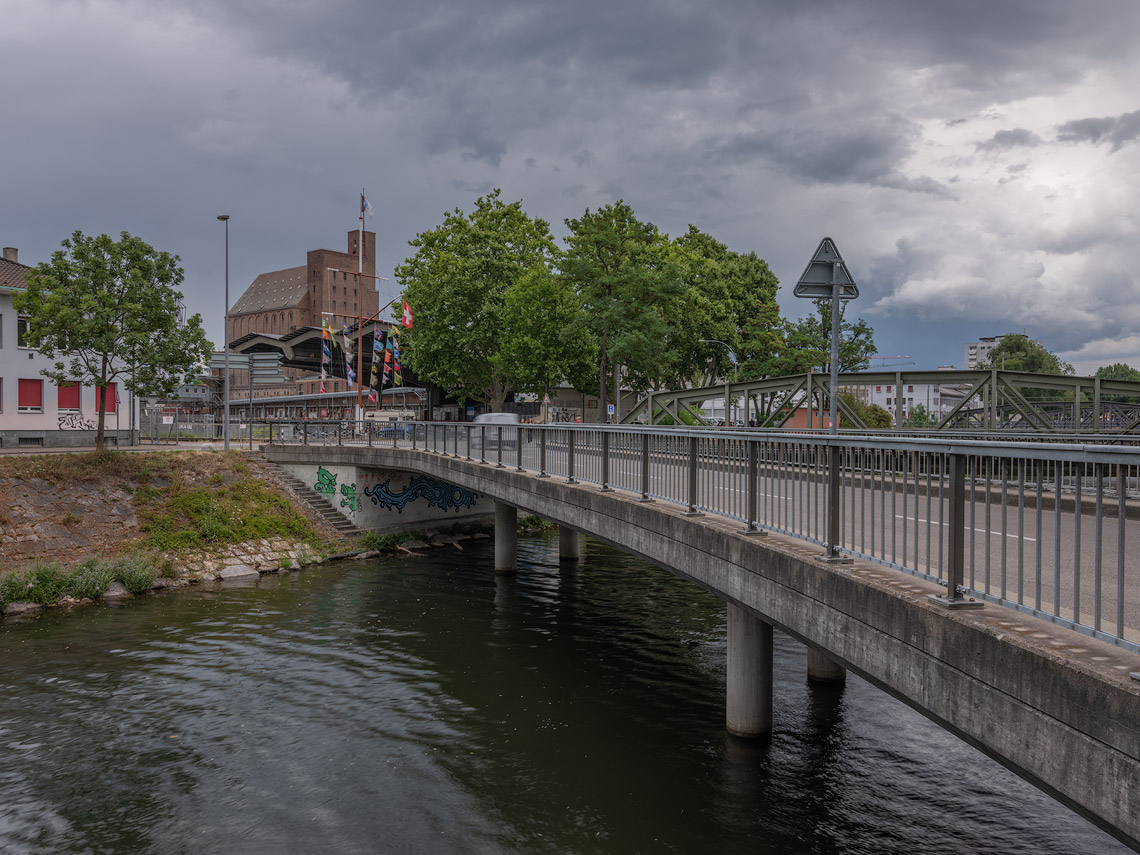
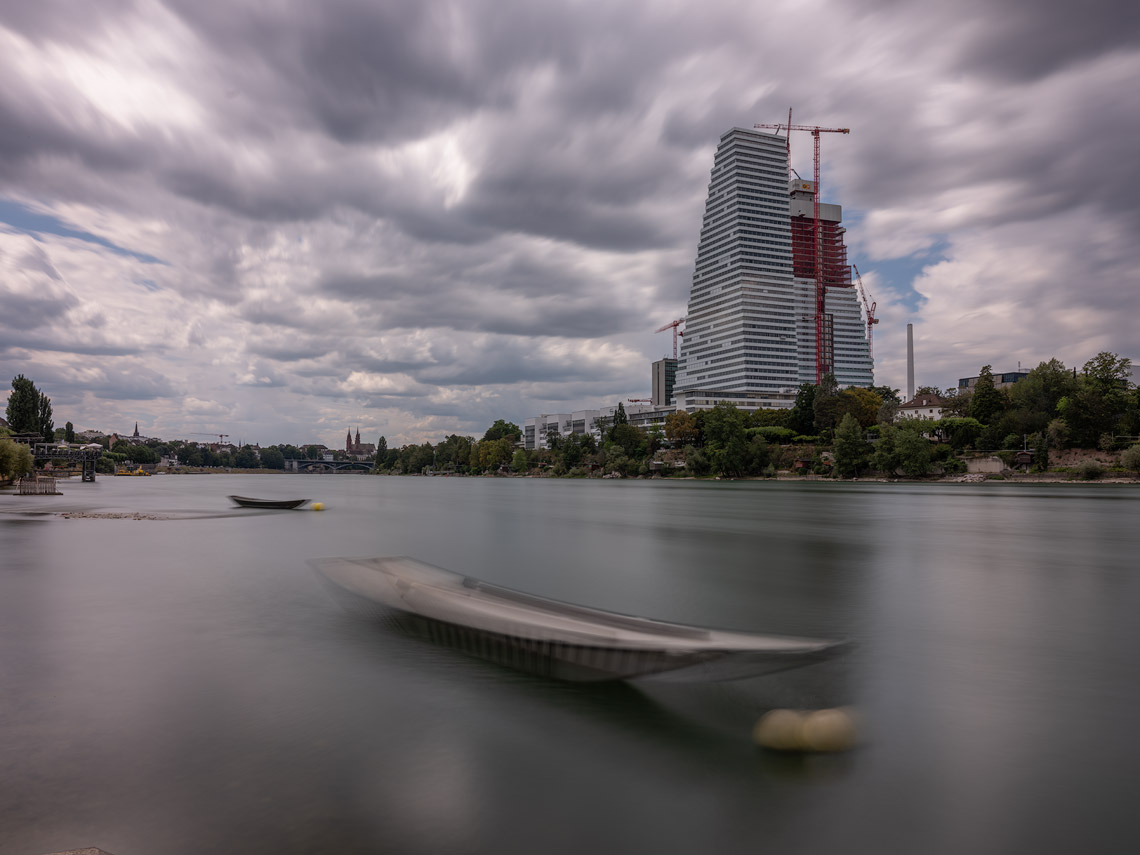
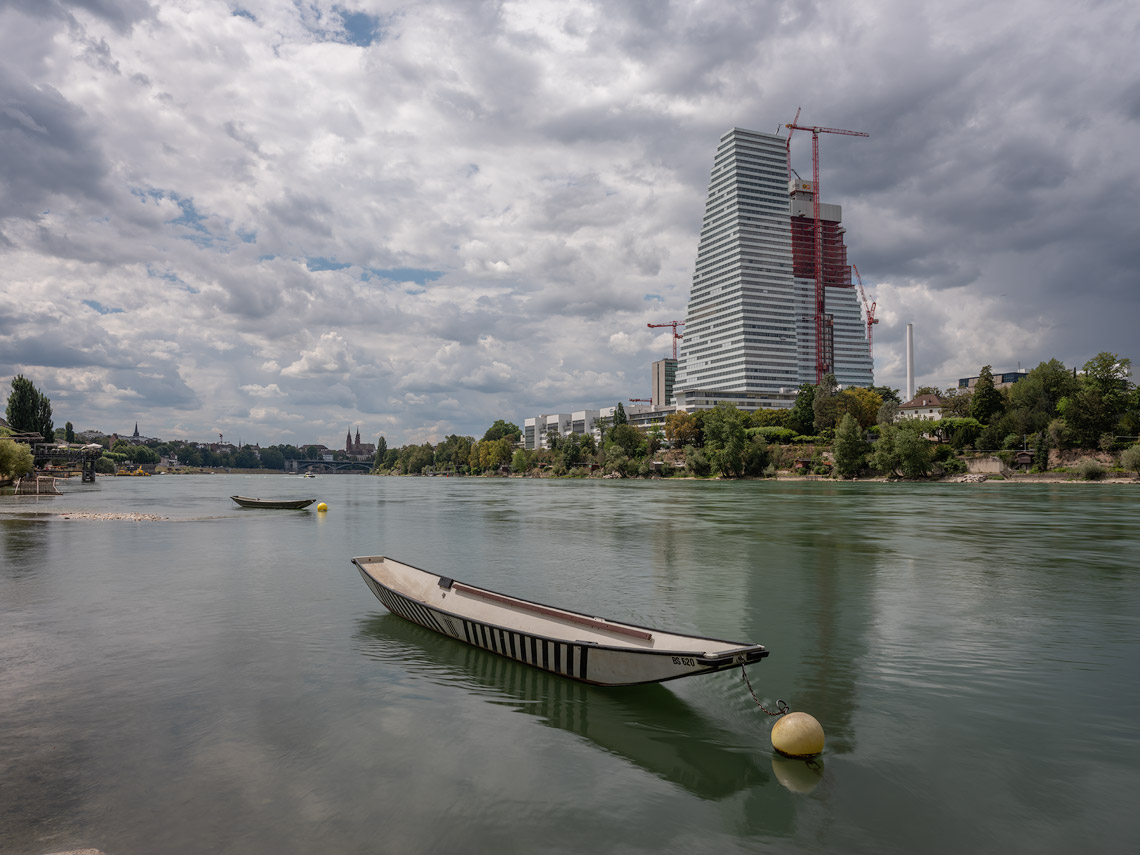
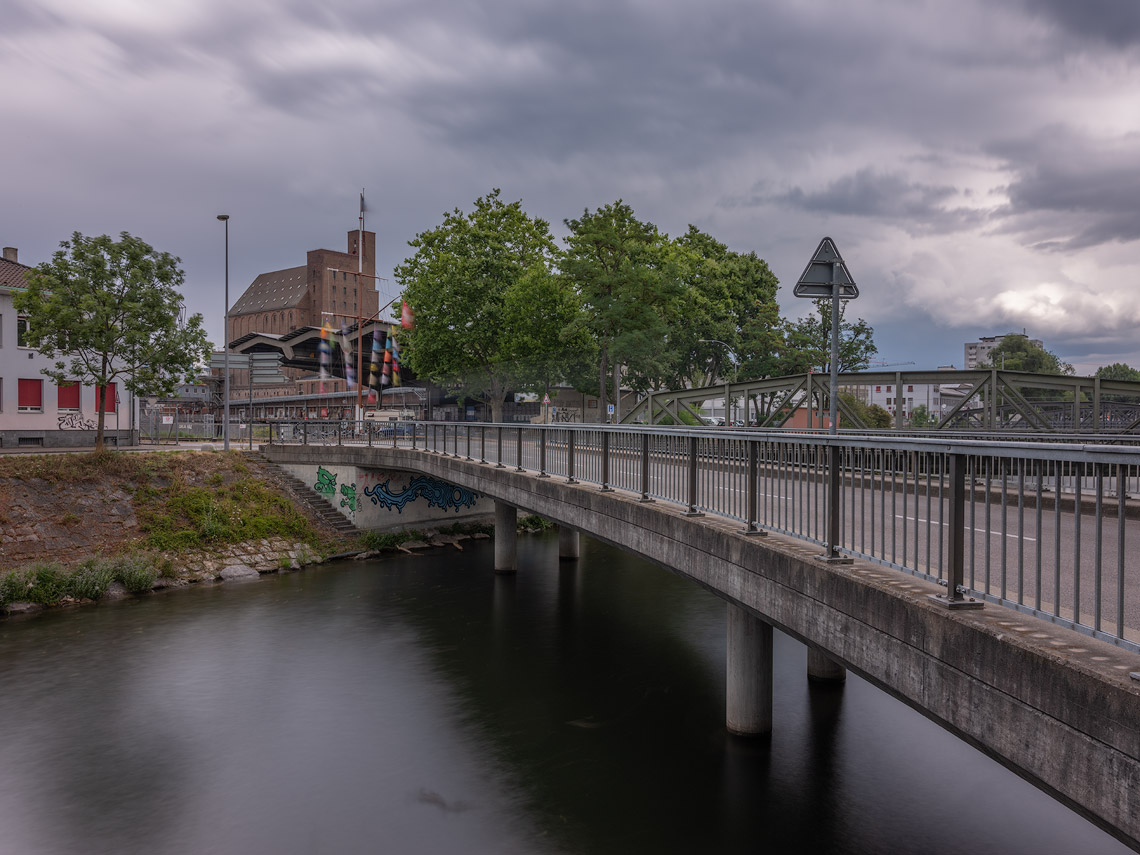
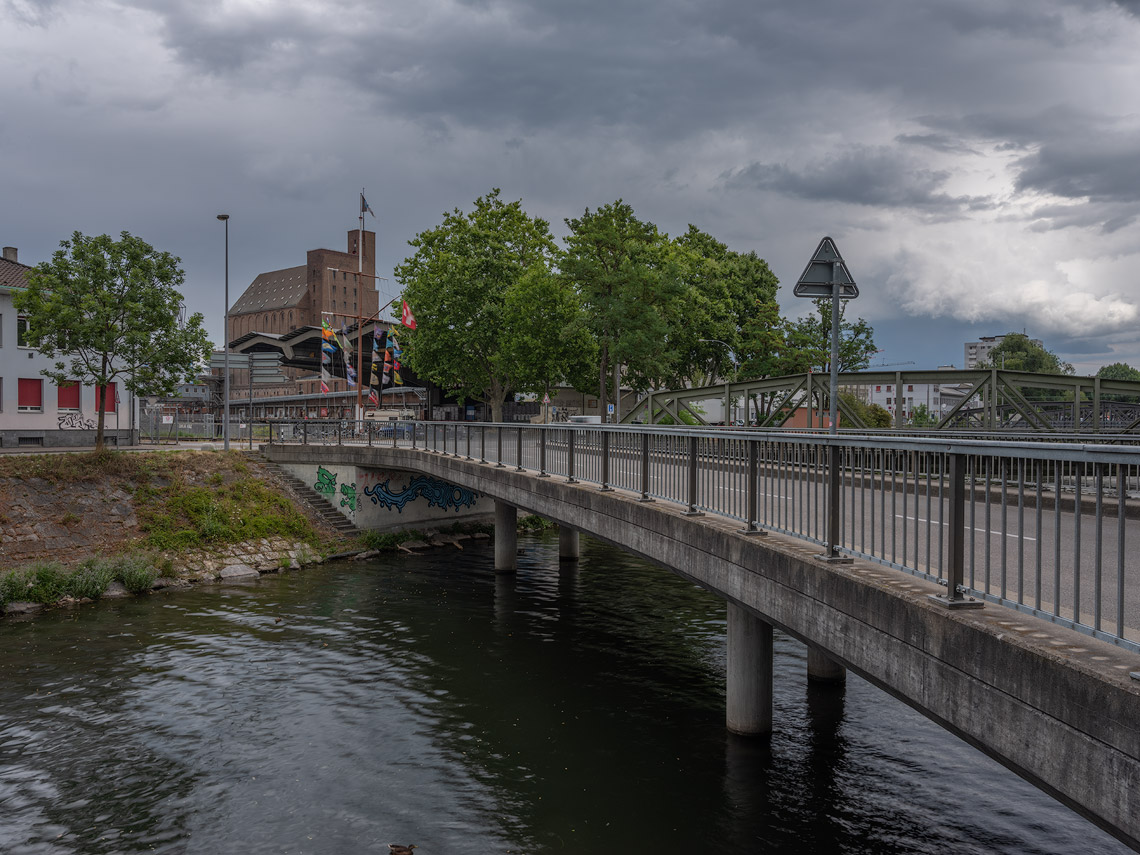
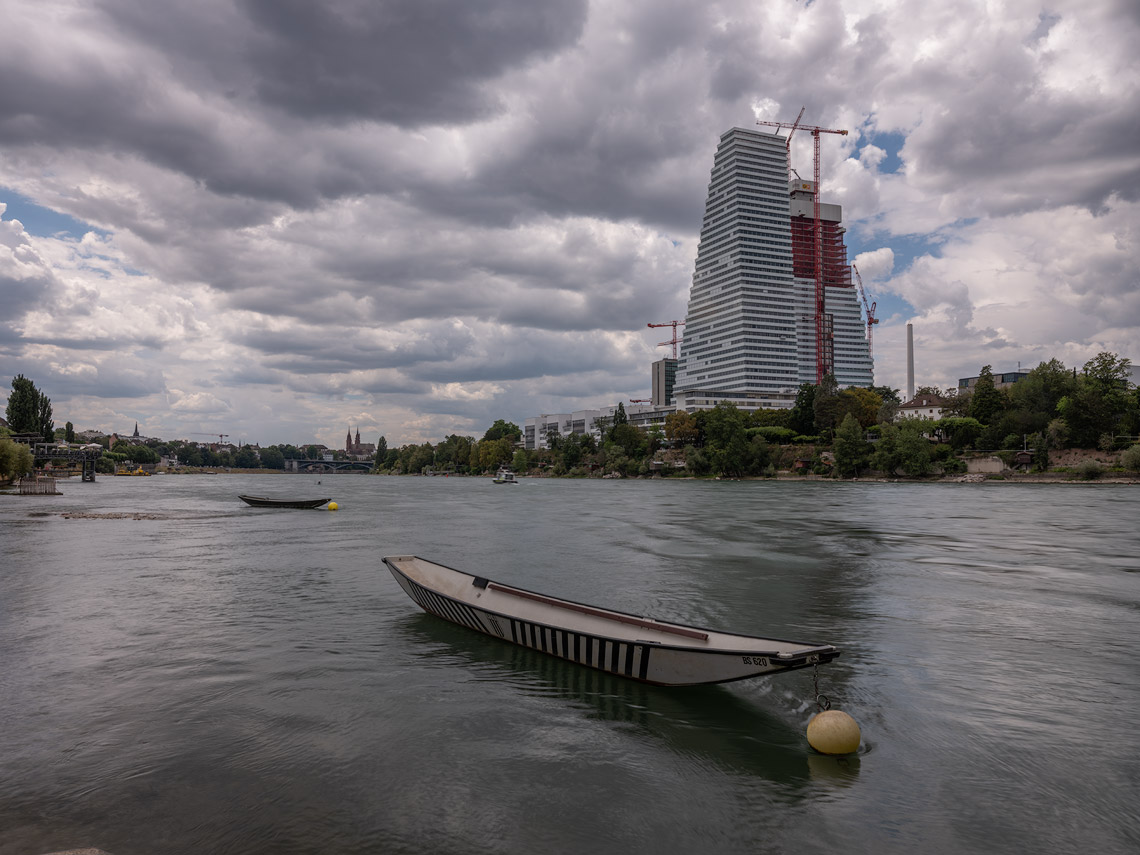
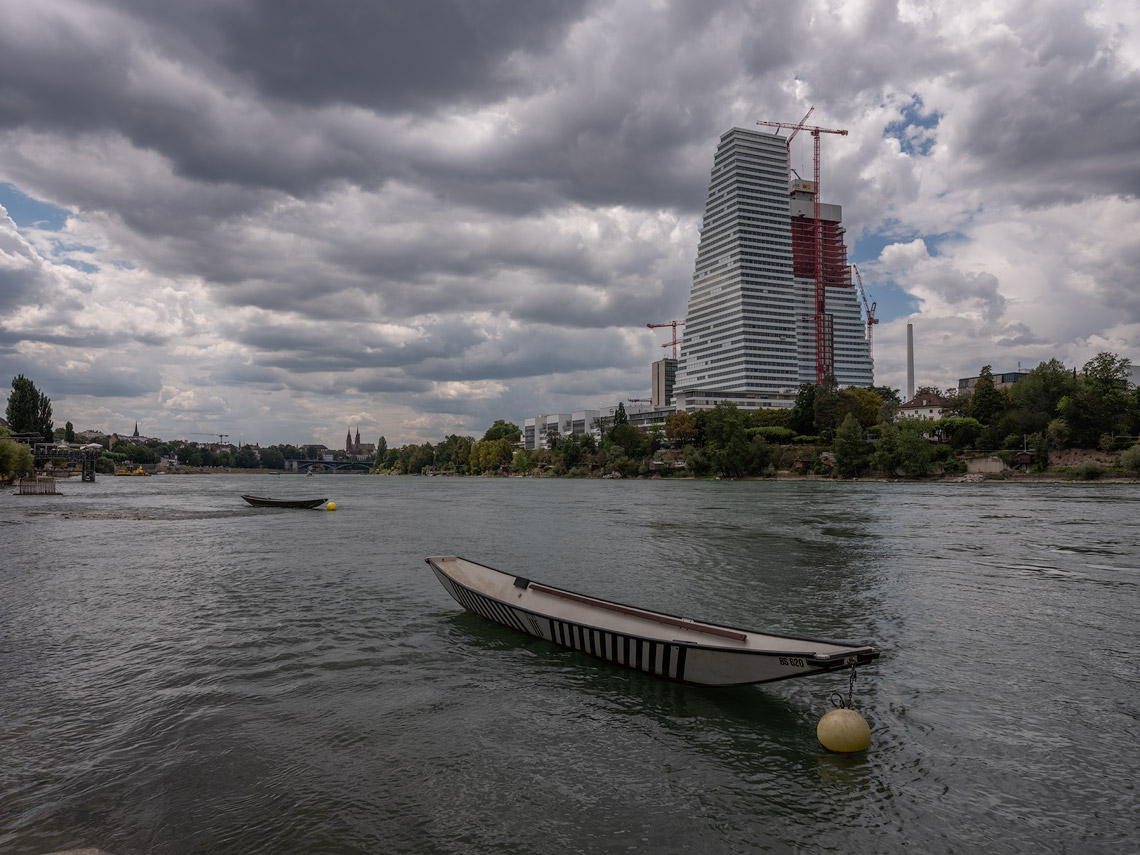
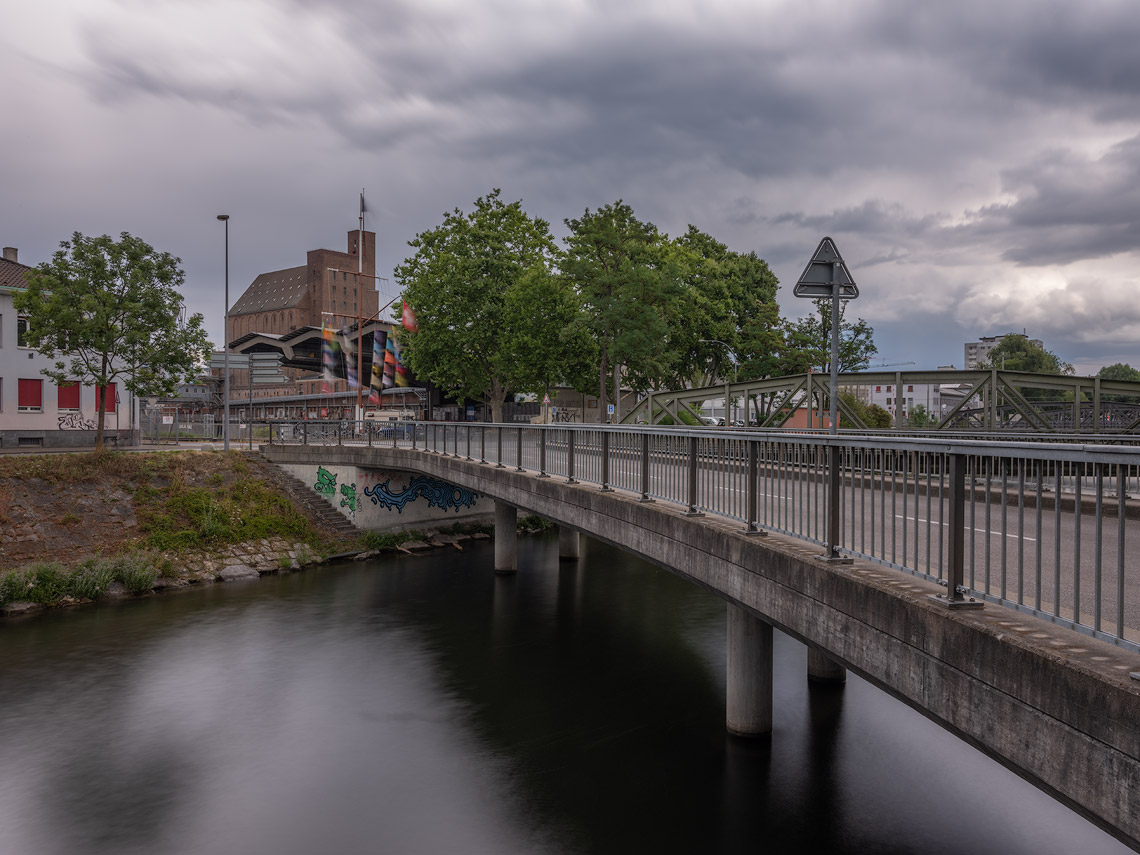
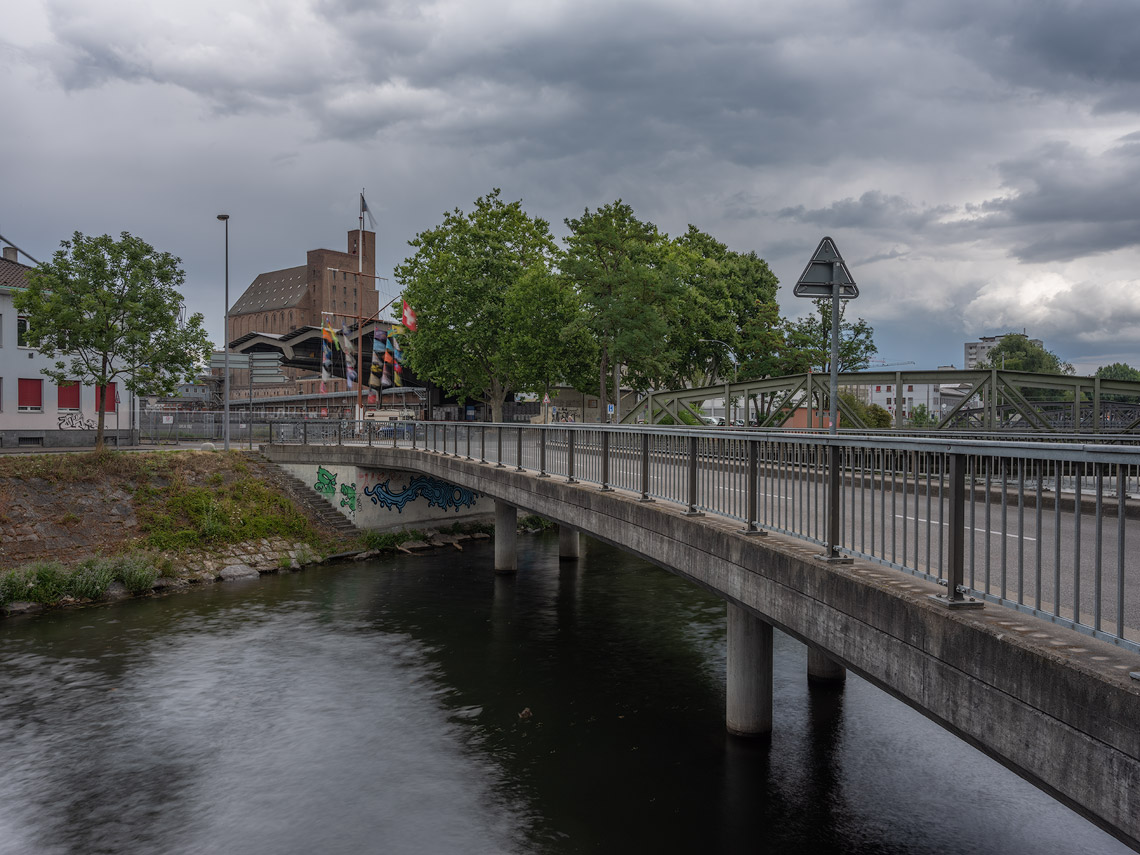
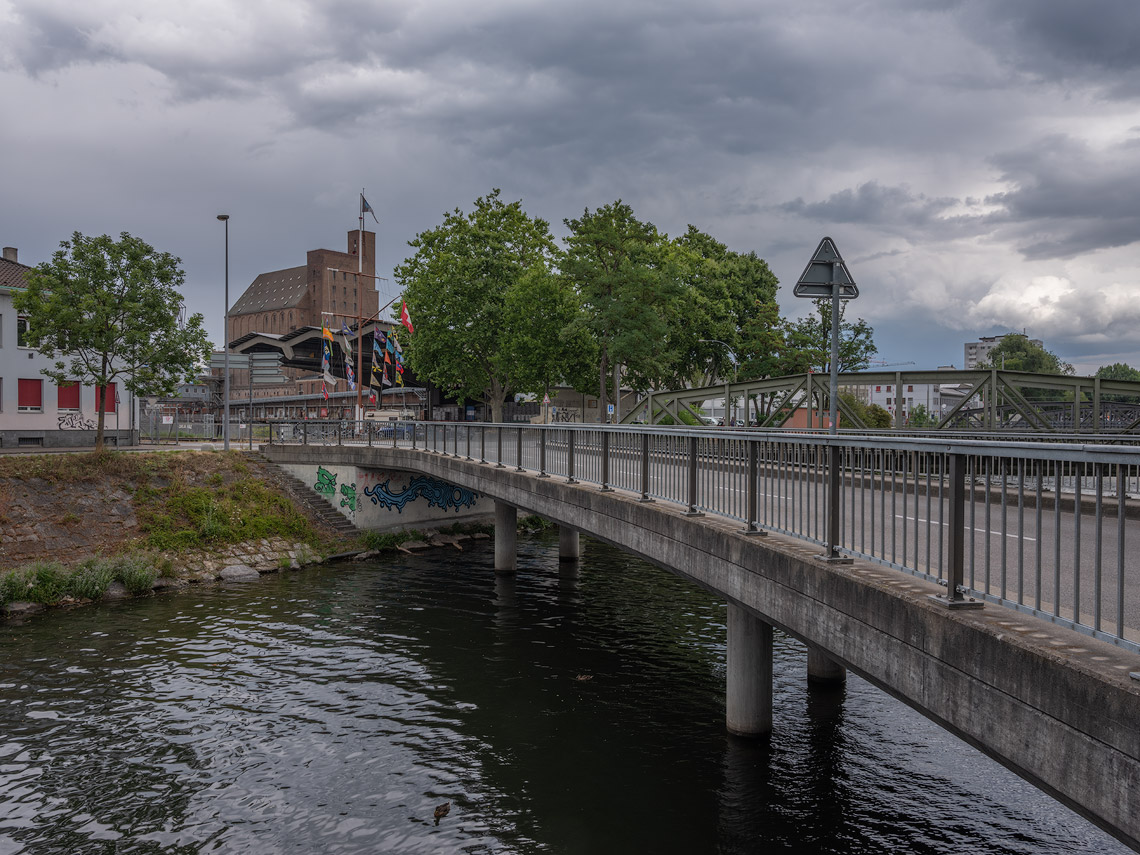
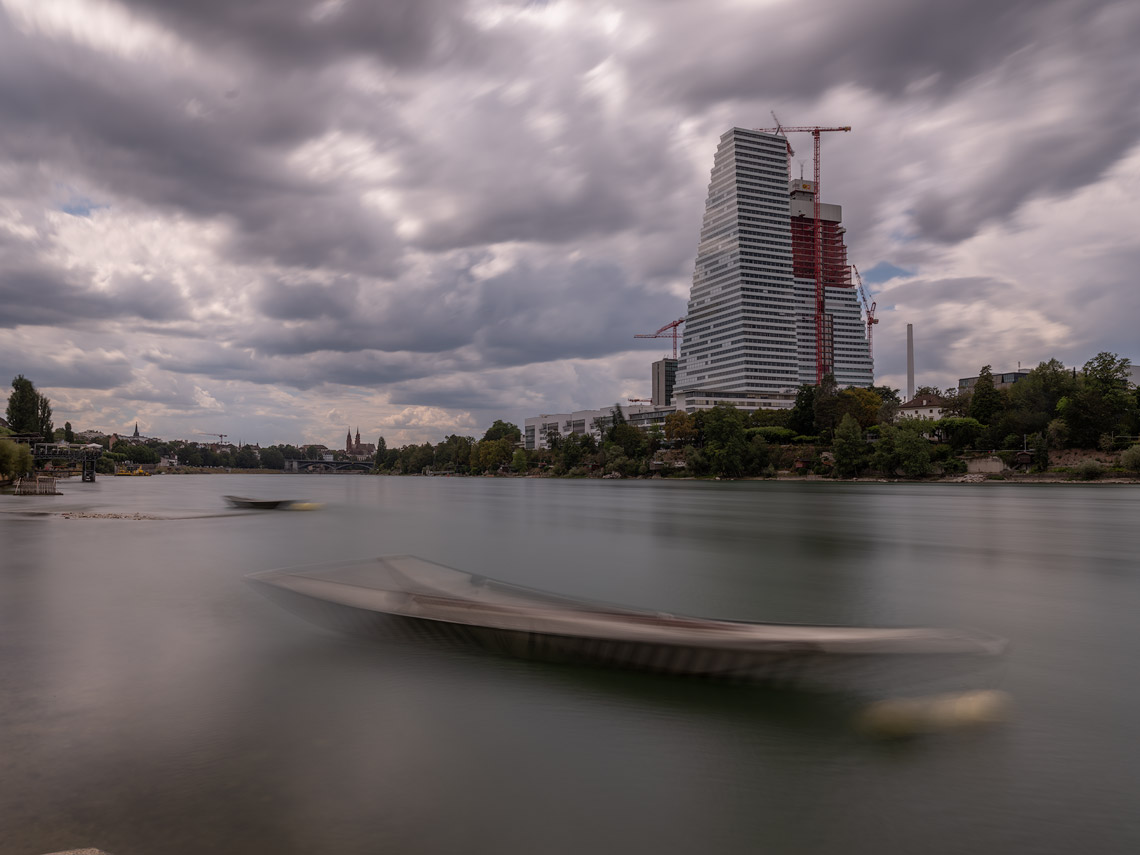
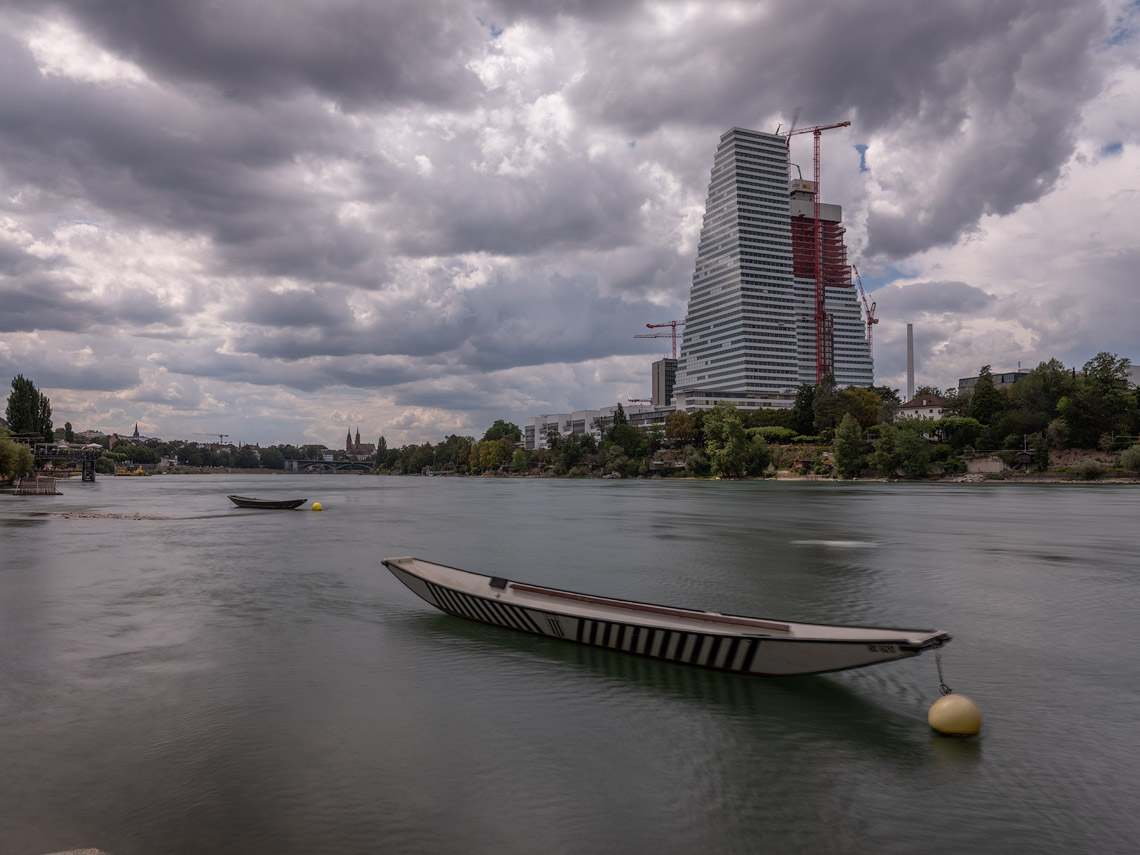
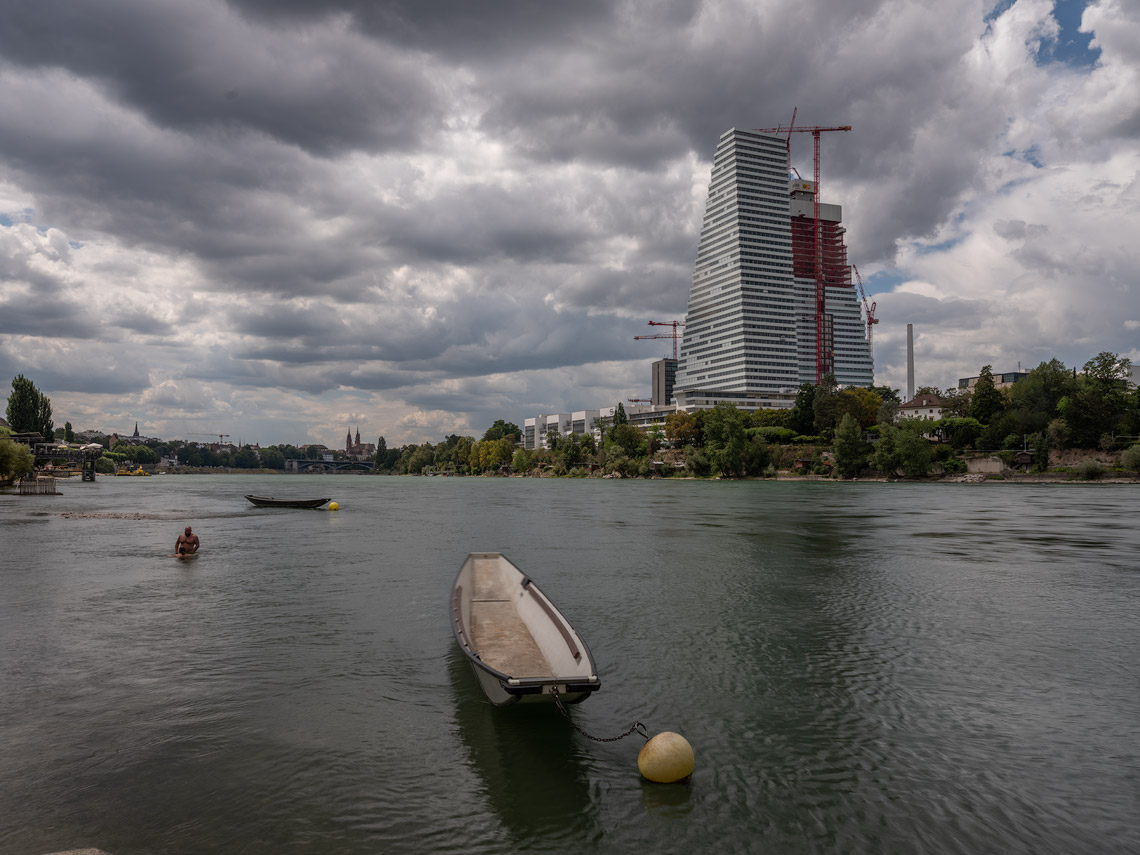
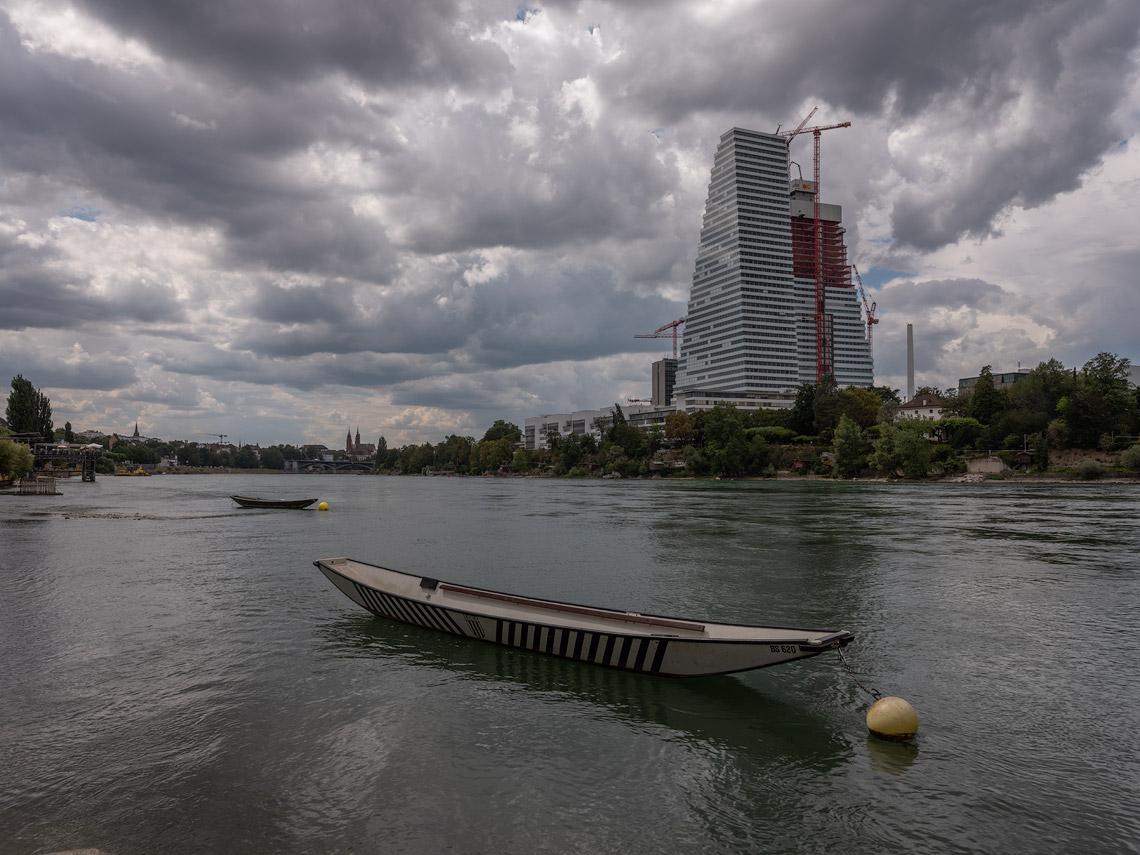
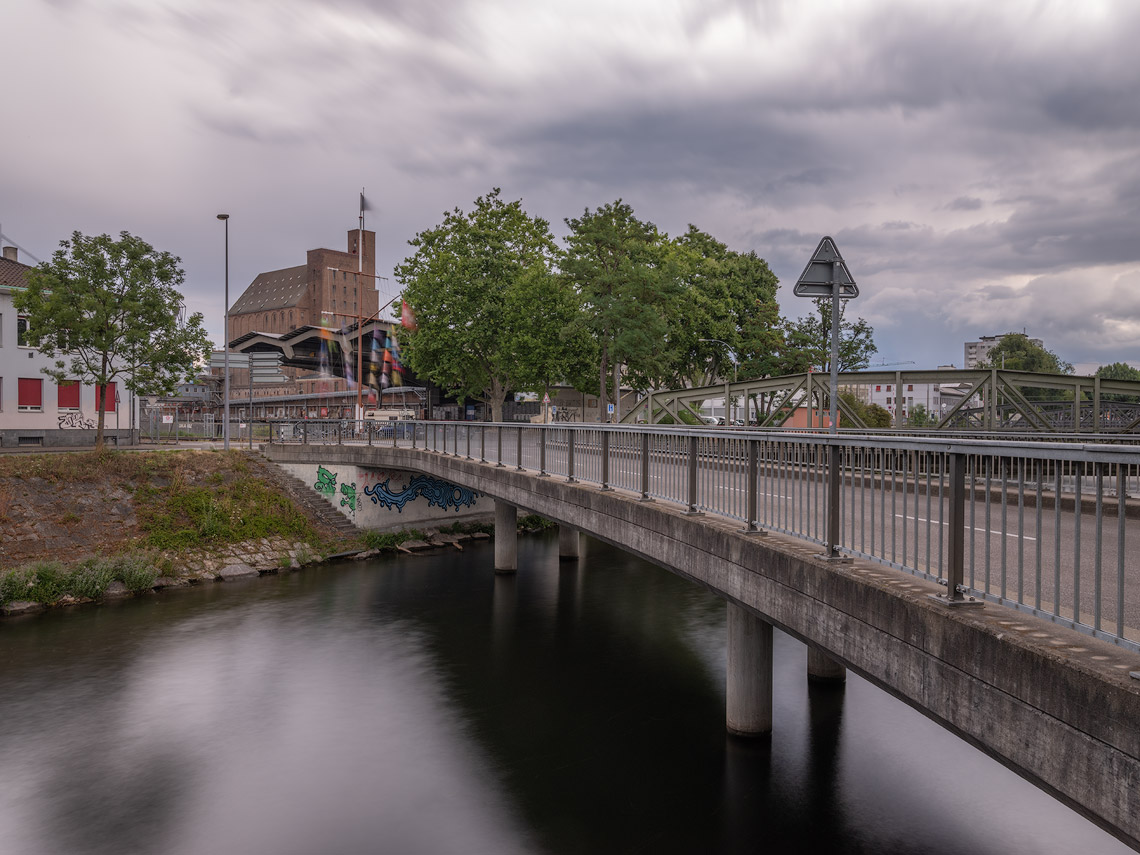
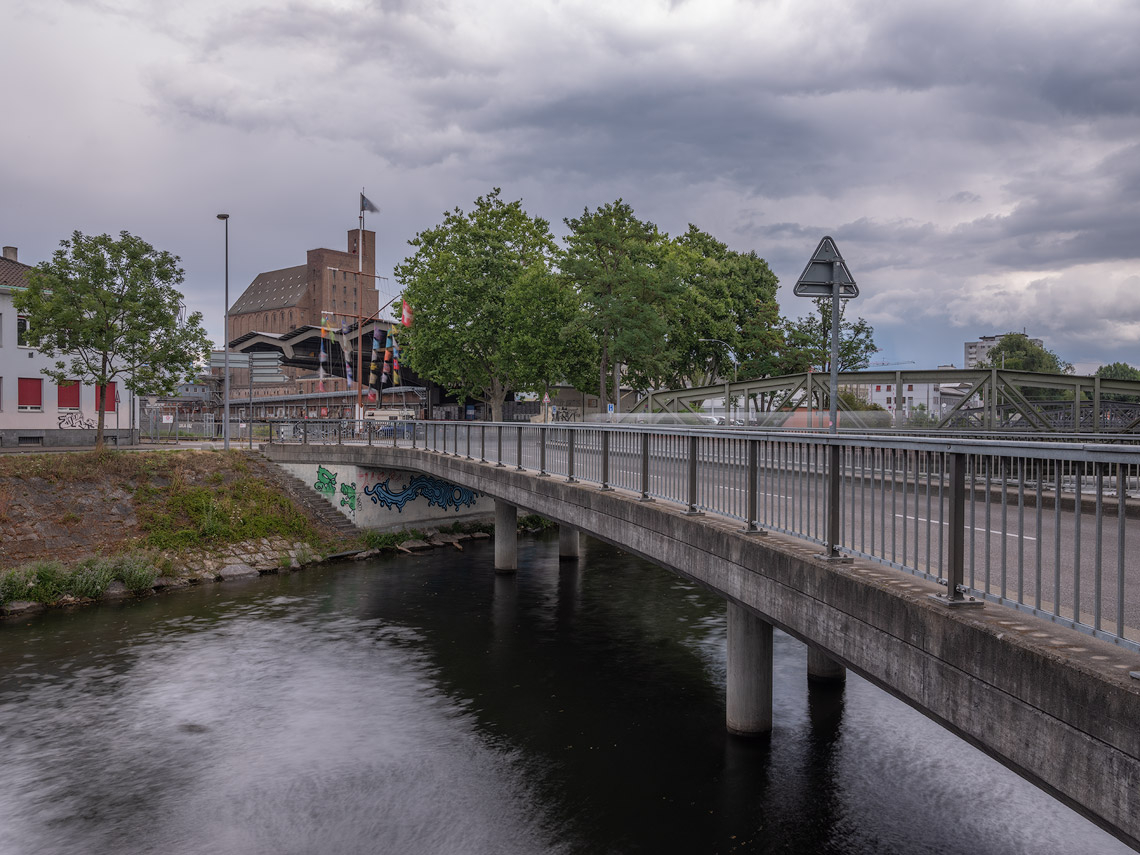
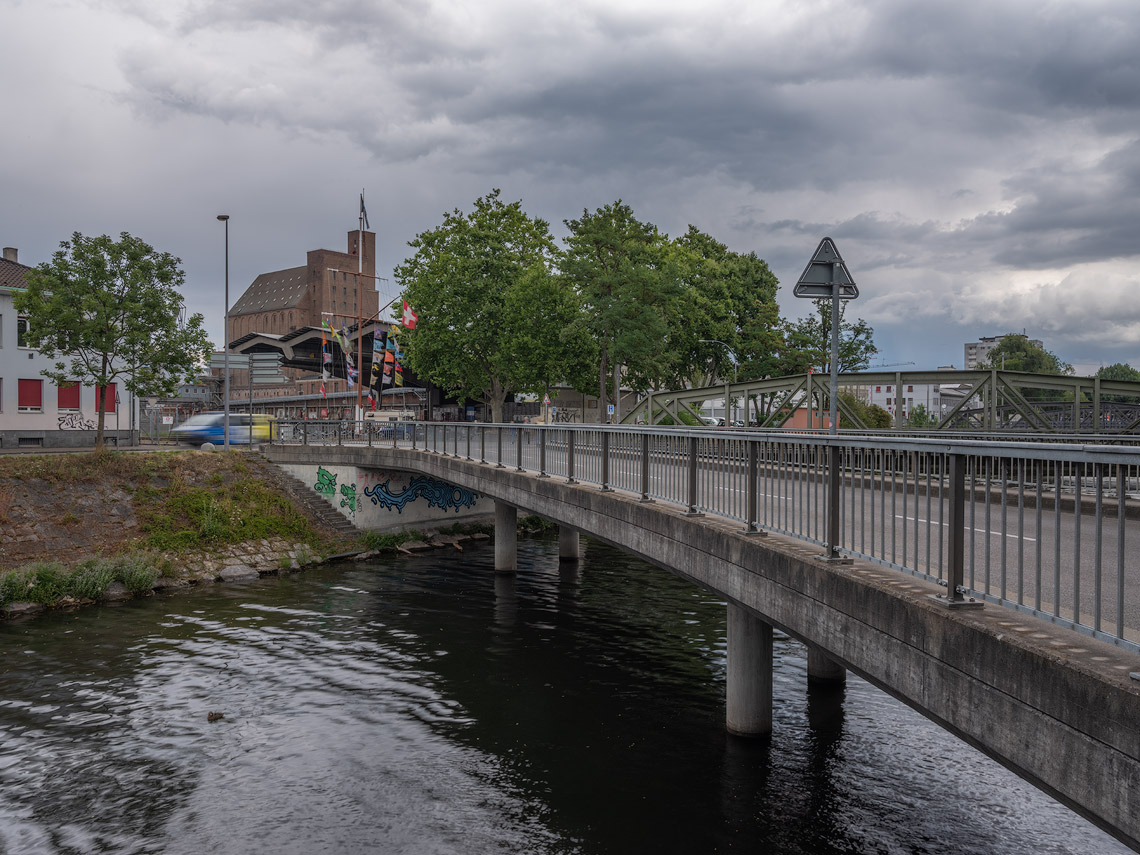
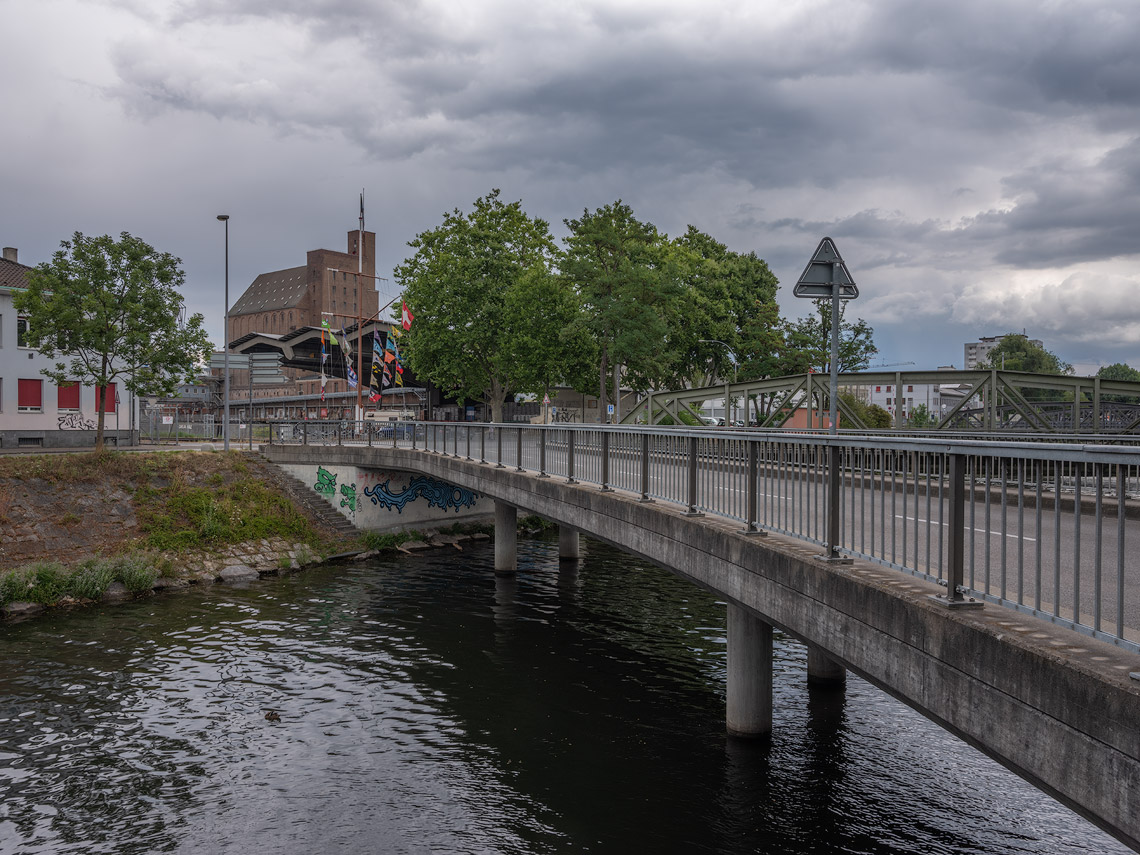
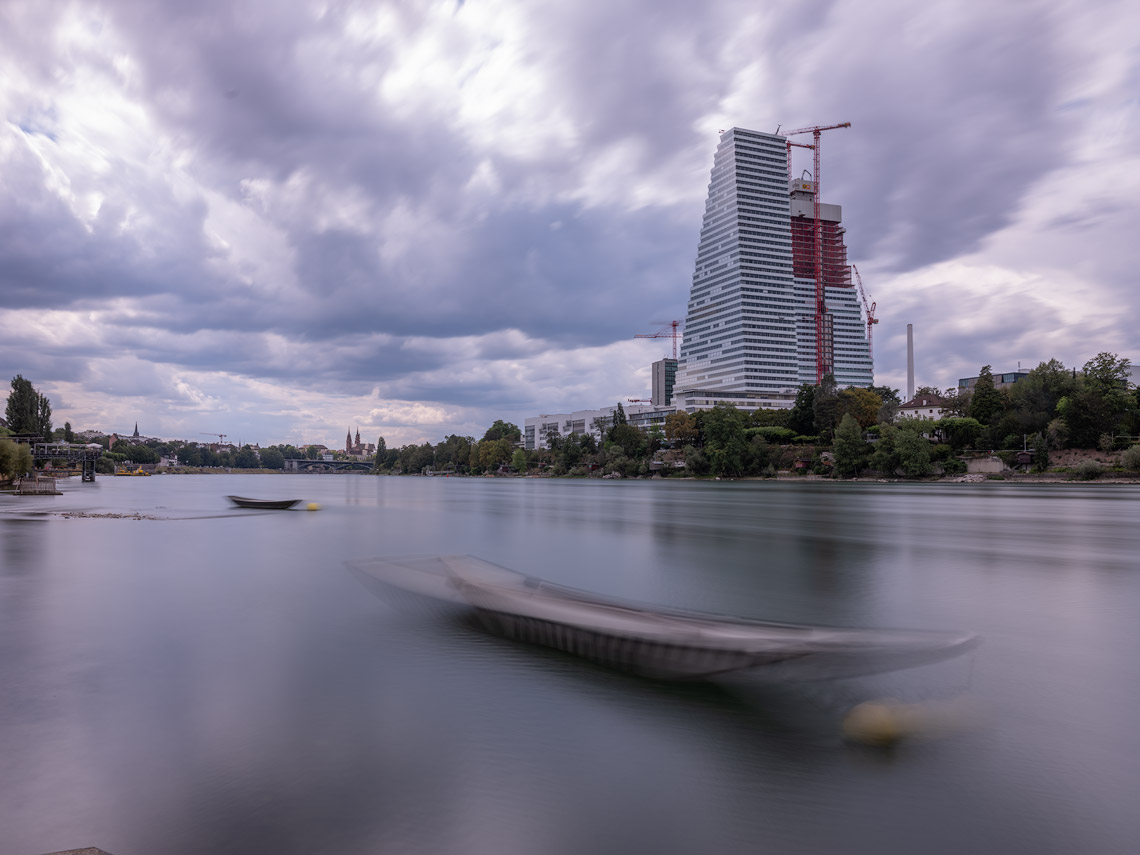
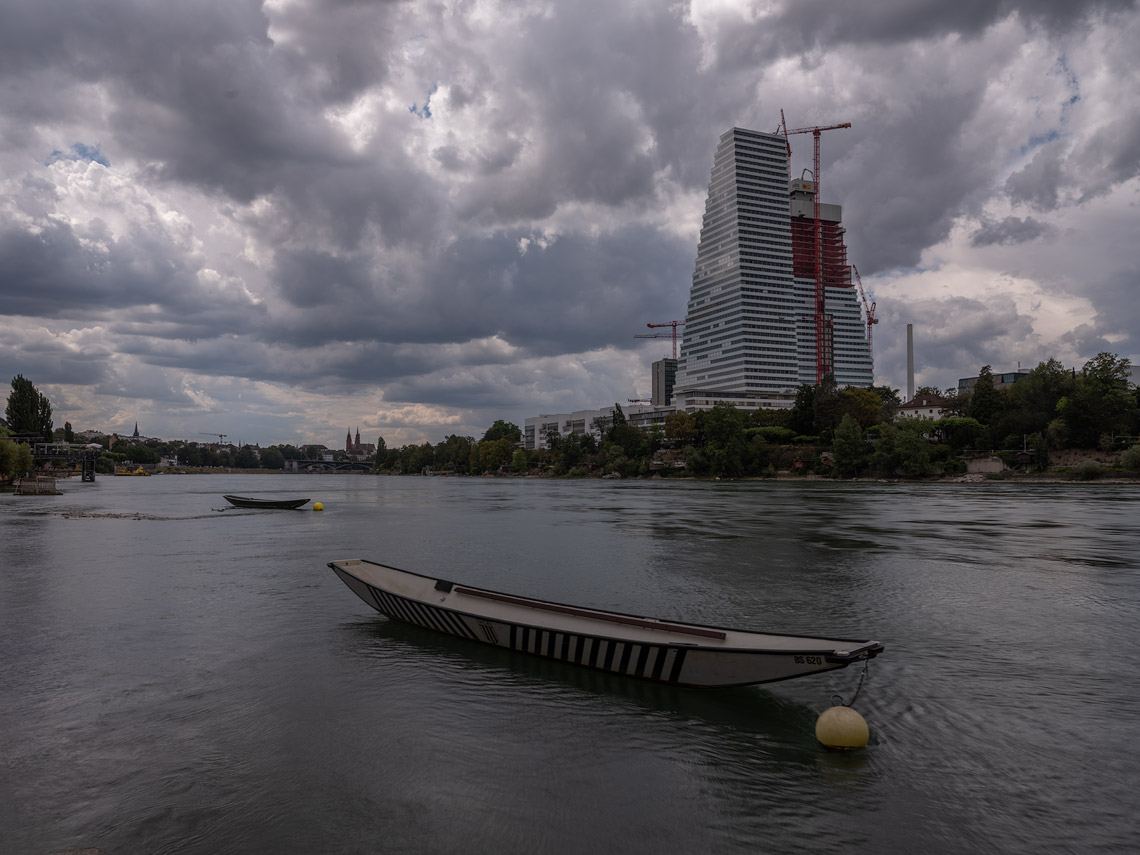
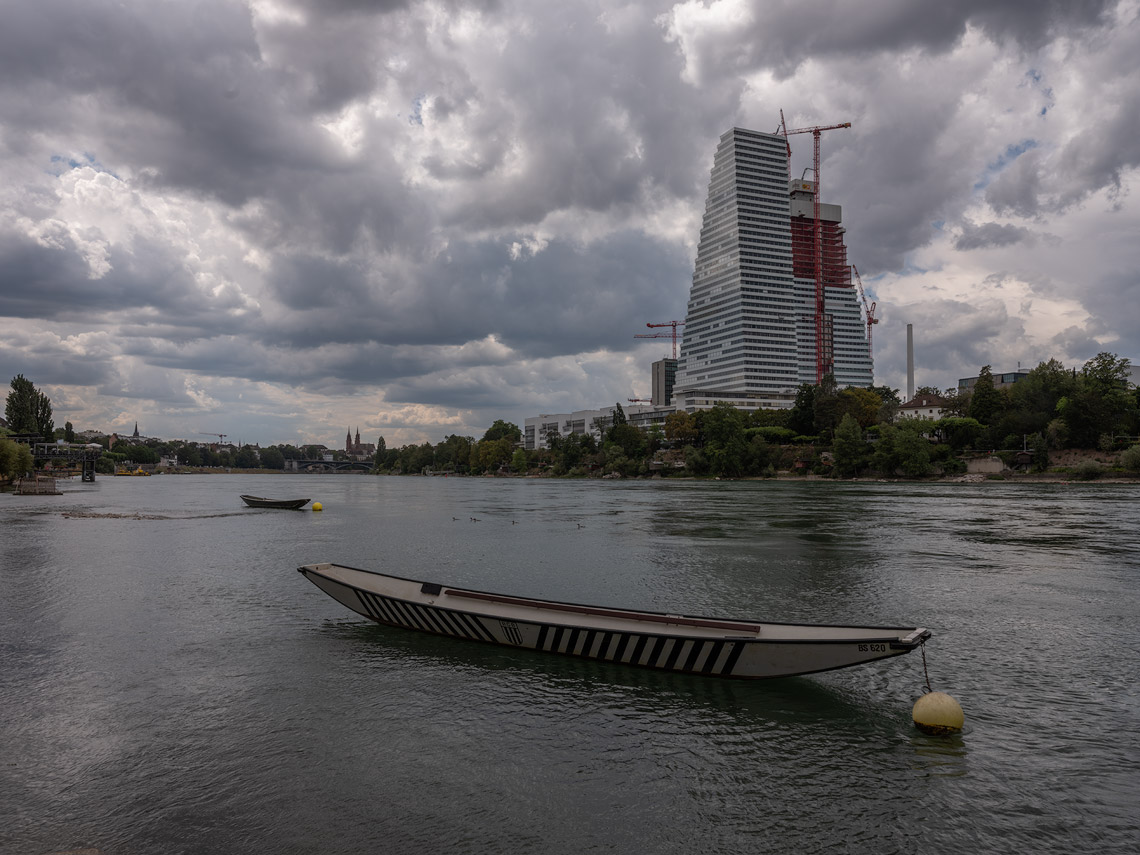
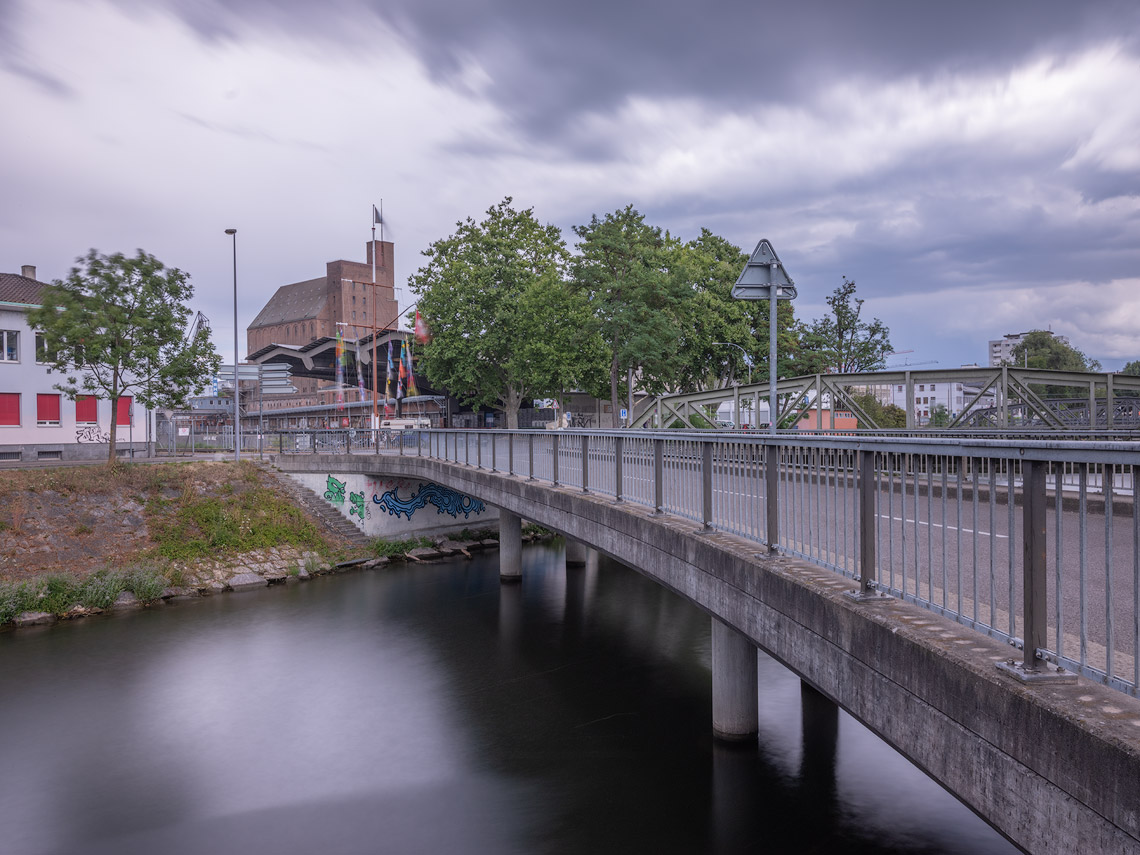
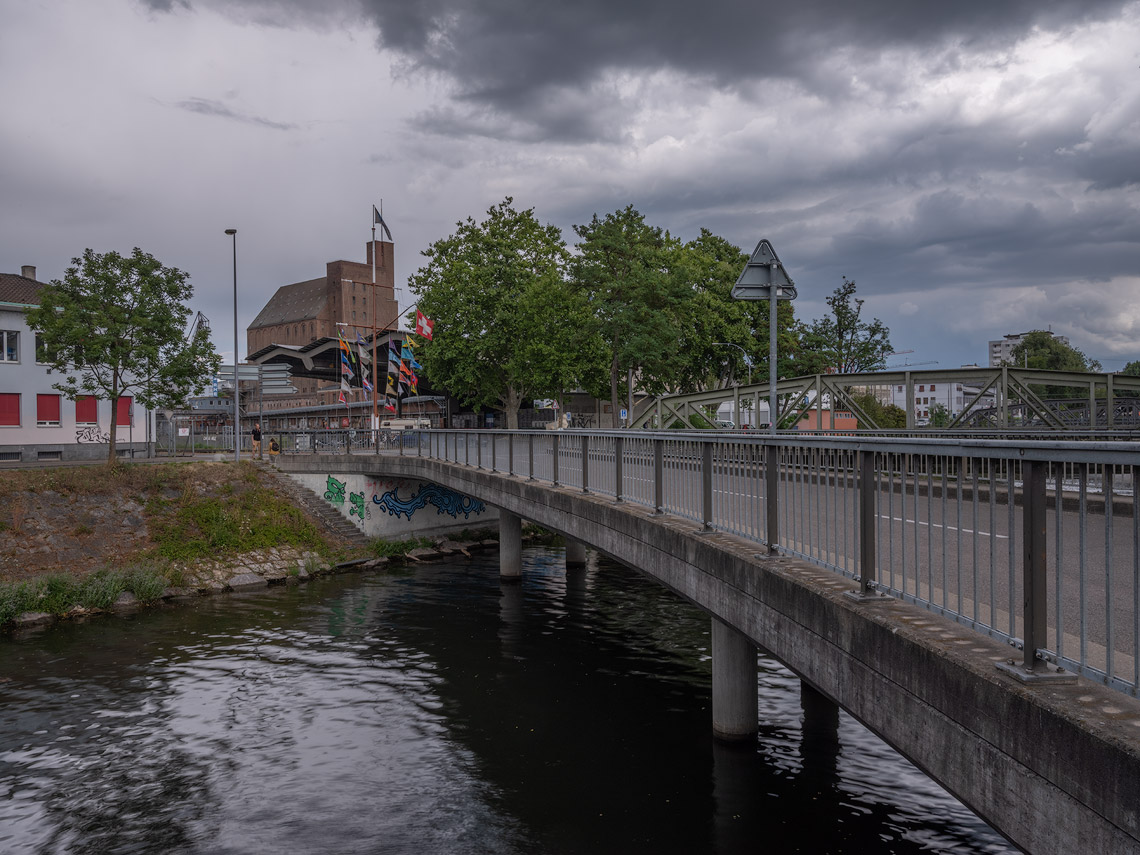
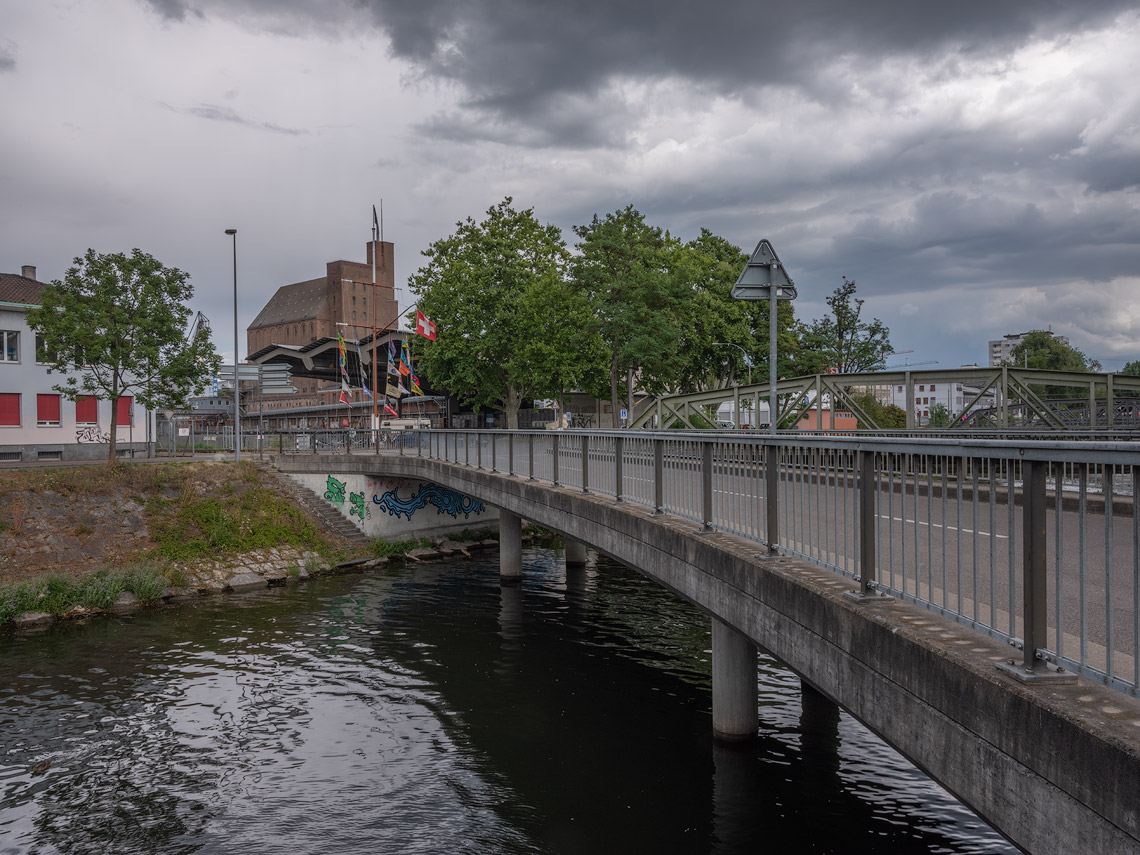
For some of you, bare measurement values may be too abstract for a concrete assessment of the results. That’s why, in addition to the series of measurements in the laboratory, I also made pictures in a location nearby. And this on two different days with different motifs under more or less covered skies. Two series of shootings because natural light never remains completely constant during test series and I wanted to avoid a test candidate experiencing a advantages or disadvantages due to a single light situation.
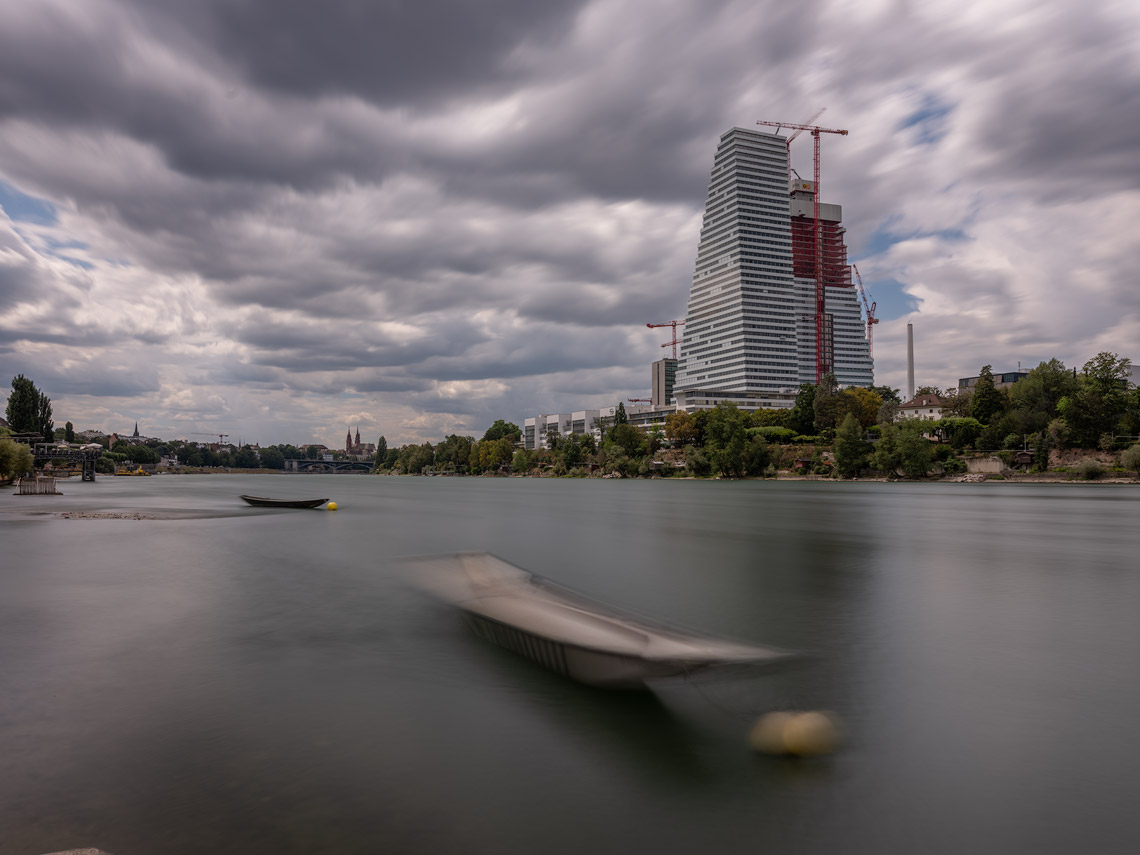
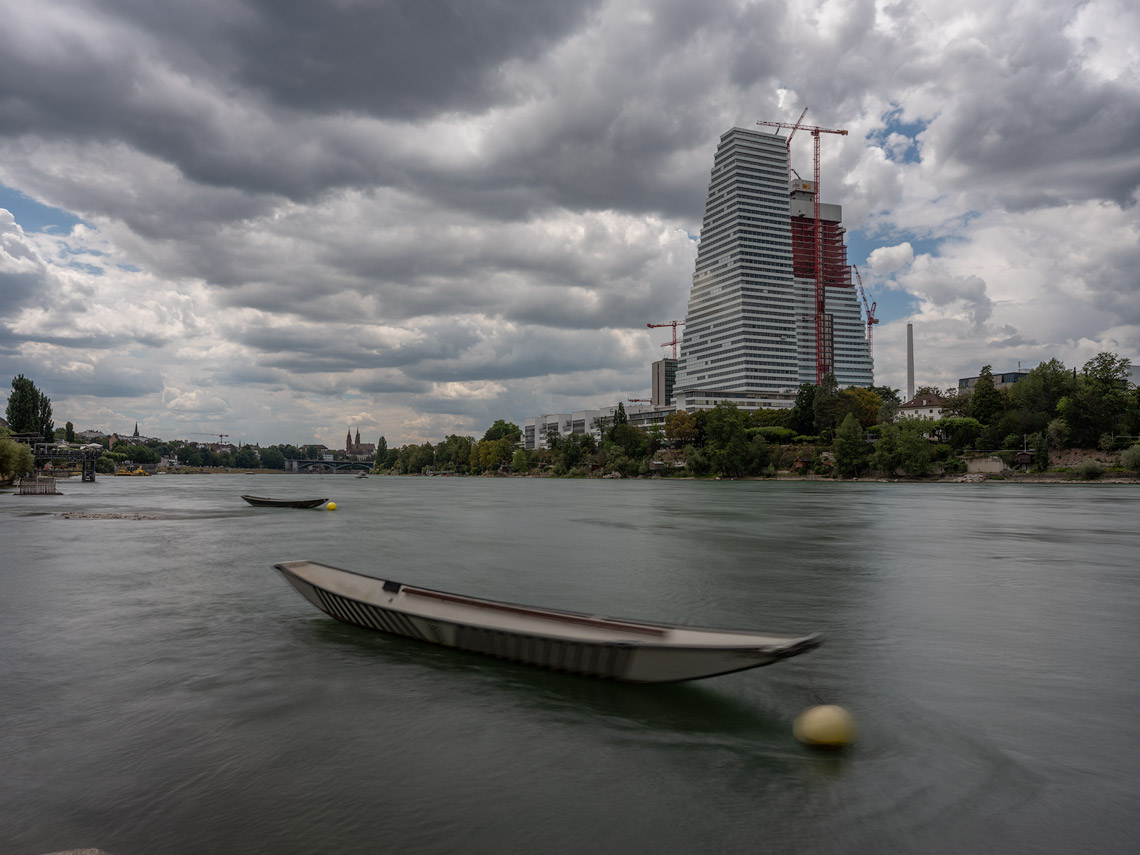
All images were taken with identical white balance (manually 5800 Kelvin) and the filters are uniformly exposed according to their nominal lengthening factor. Thus, in addition to the color shift, a tendency of deviation to the nominal lengthening factor can be recognized. Of course, I measured this deviation in my laboratory and packed it into a table, which you can find below. Before the comparison images were packed into the different sliders, I developed them moderately, that means: pulled down the lights and and raised the shadows. Color and sharpening controllers as well as what else could be done in Lightroom remained untouched. Finally I got 15 images each for comparison of the two testing.
A few words about the evaluation
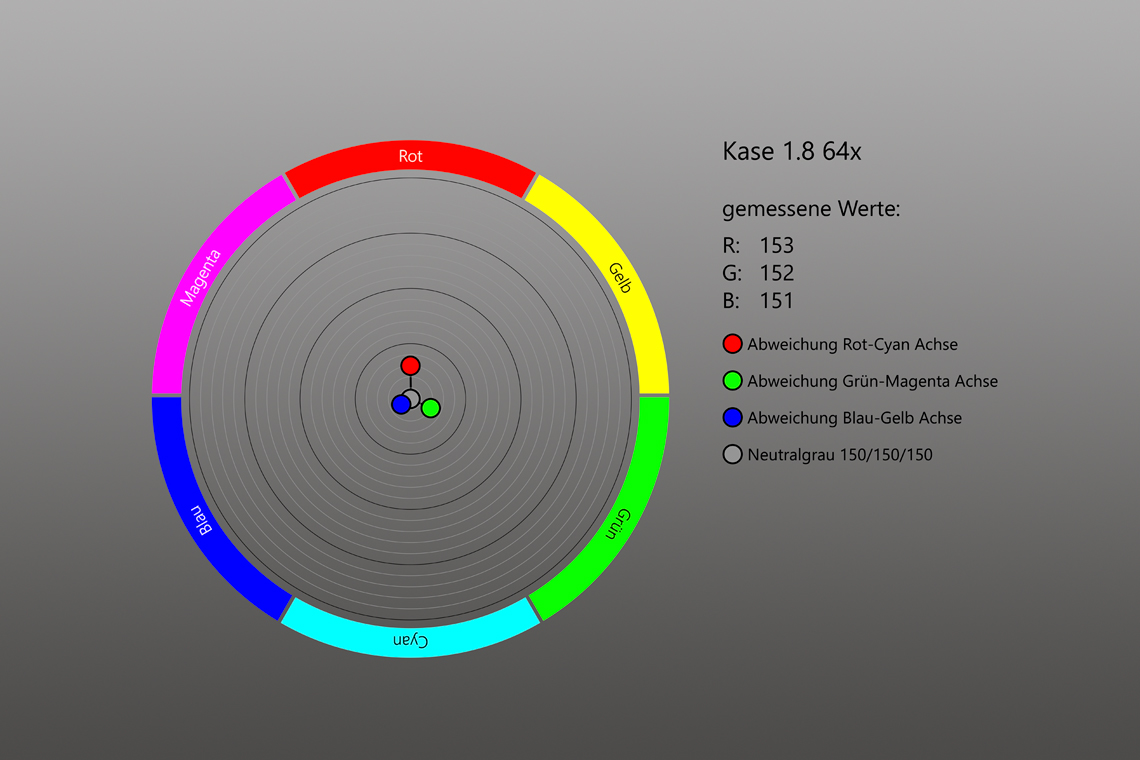
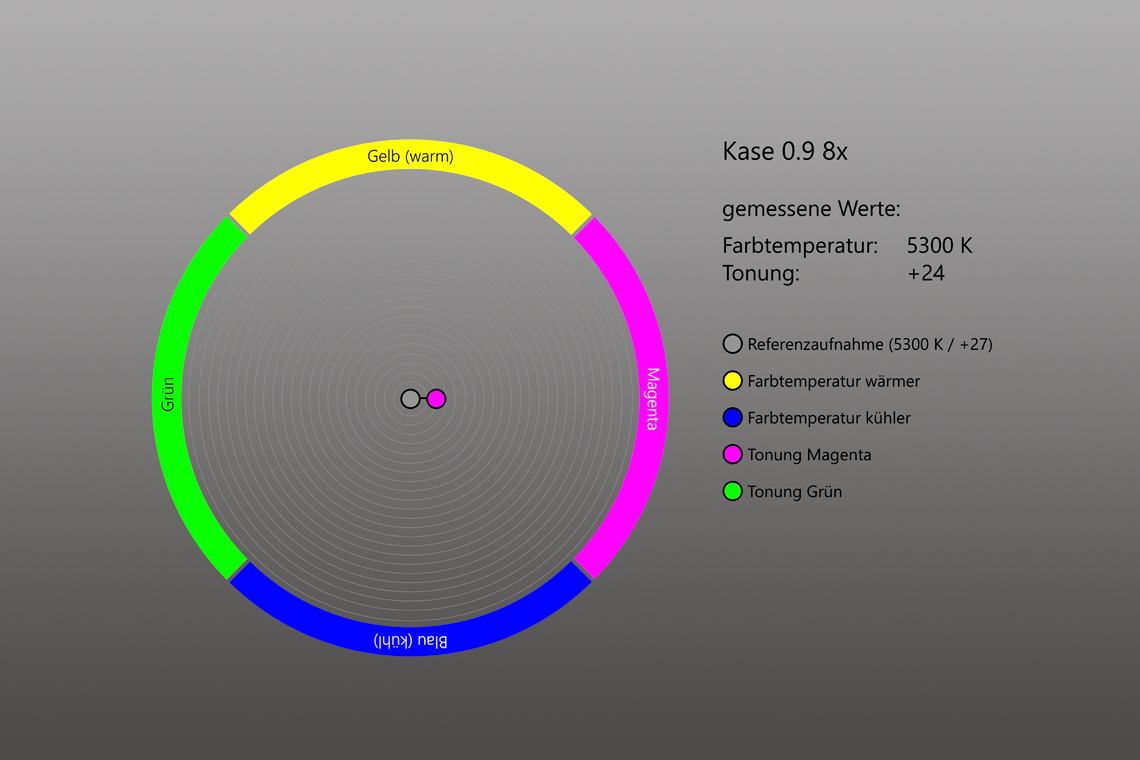
I have determined the color shift in two different ways: on the one hand for the basic colors red, green and blue (RGB) and on the other hand in the two axes yellow-blue and green-magenta (temperature, tint). For some of yours, these figures may be closer, because deviations in RAW development via the temperature or tint controller can be corrected more intuitively without having to go over the primary colors.
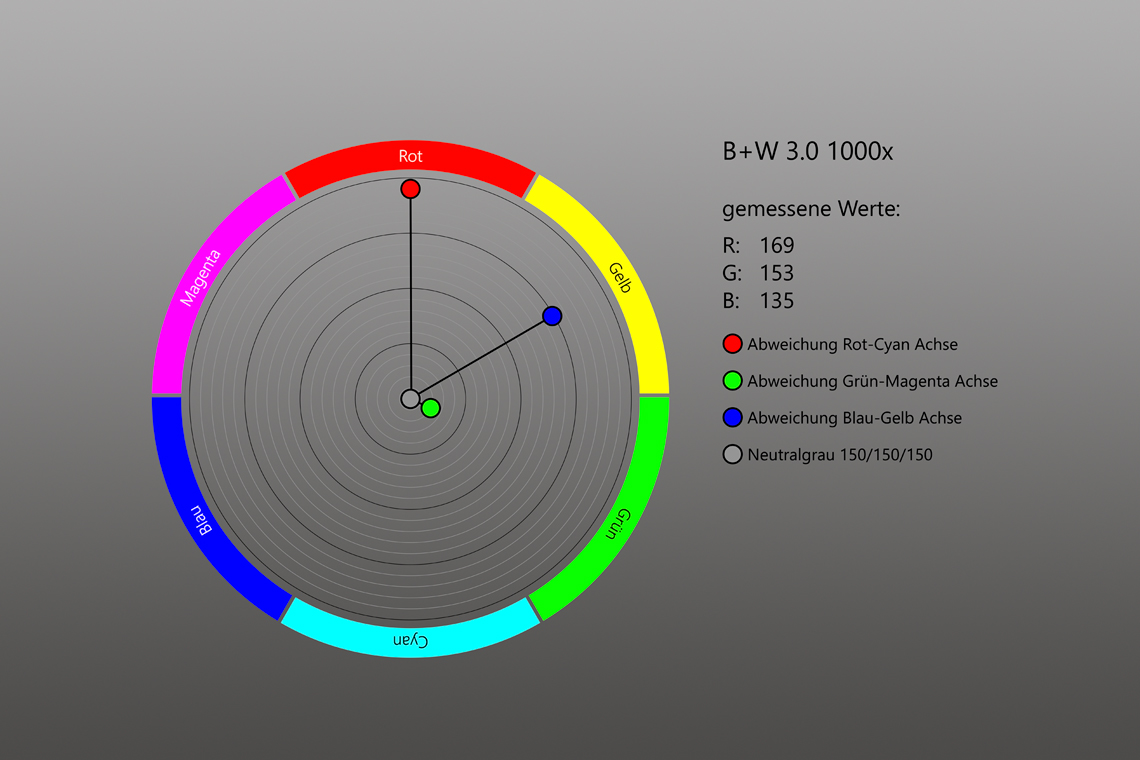
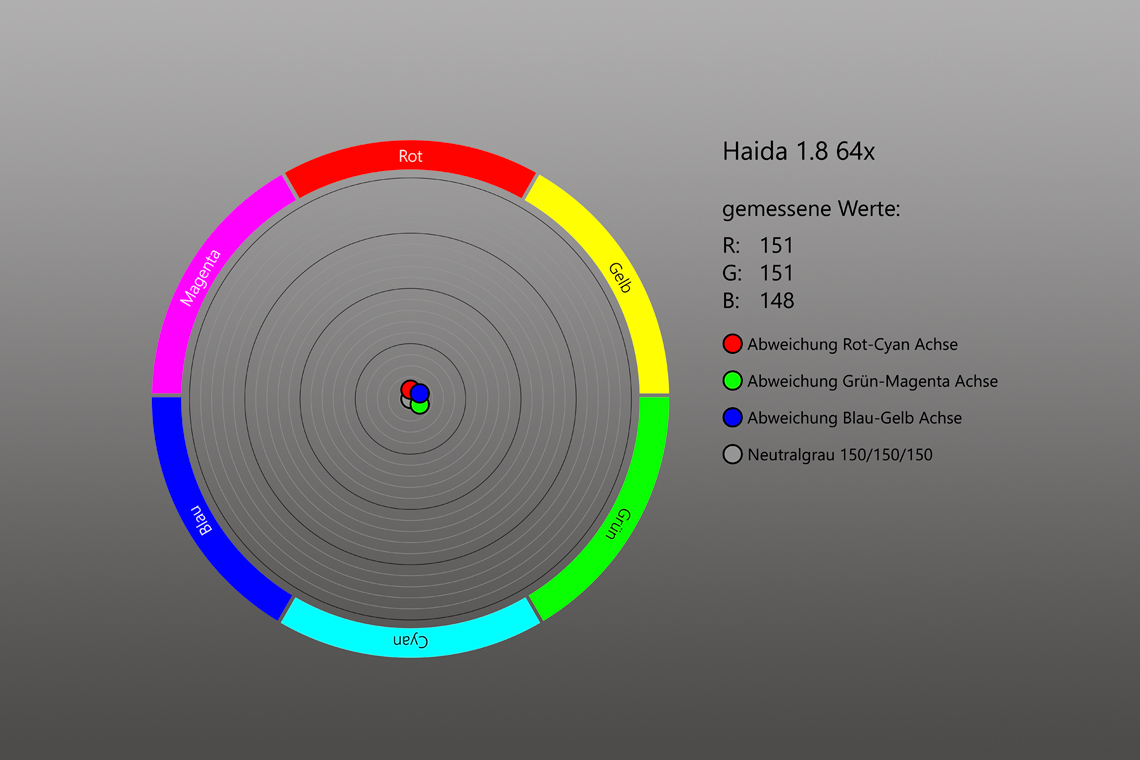
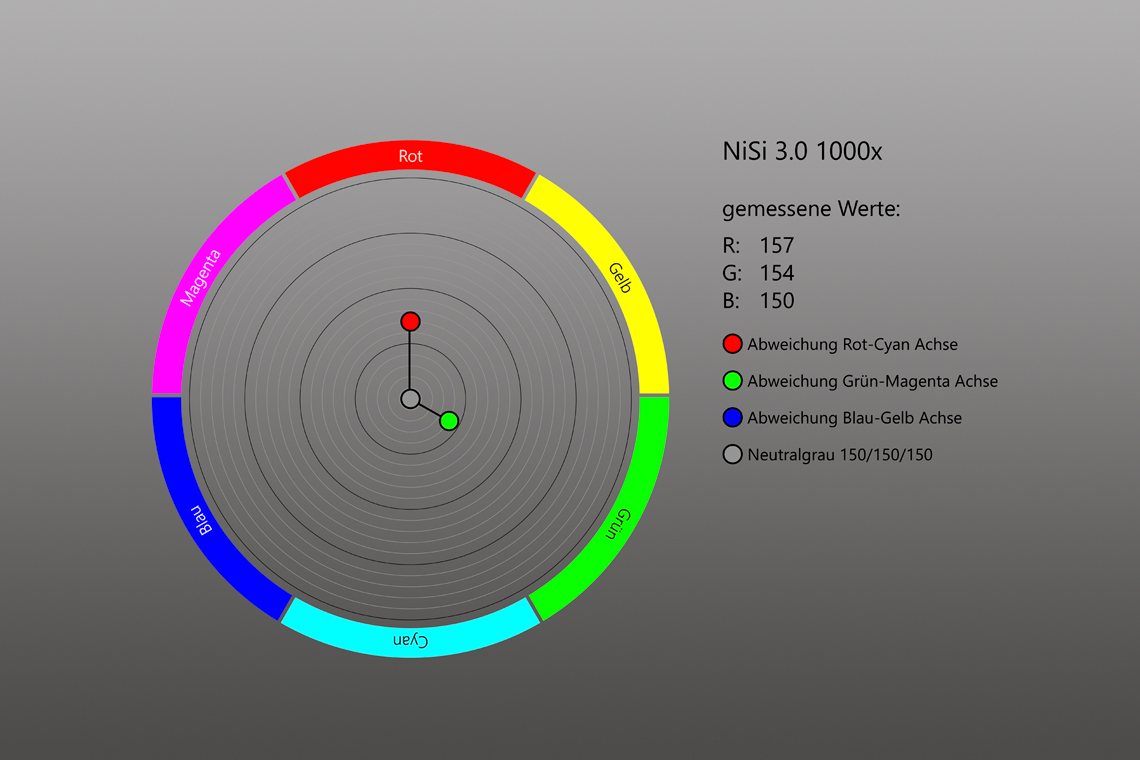
For the RGB values I created a reference and a filter image and corrected it in Lightroom with the pipette on the ColorChecker. Then I repeated the second, until the color and brightness measurement resulted at 150 / 150 / 150. Then I transferred temperature and tint values to the filter image, opened both shots in Photoshop and determined the deviation on the 18 percent gray area with the pipette (11×11 pixels). The resulting difference ideally resulted in a neutral value (150) for each channel or, in the case of a deviation ,>150, a red, green or blue deviation, or at values <150 a cyan, magenta or yellow deviation.
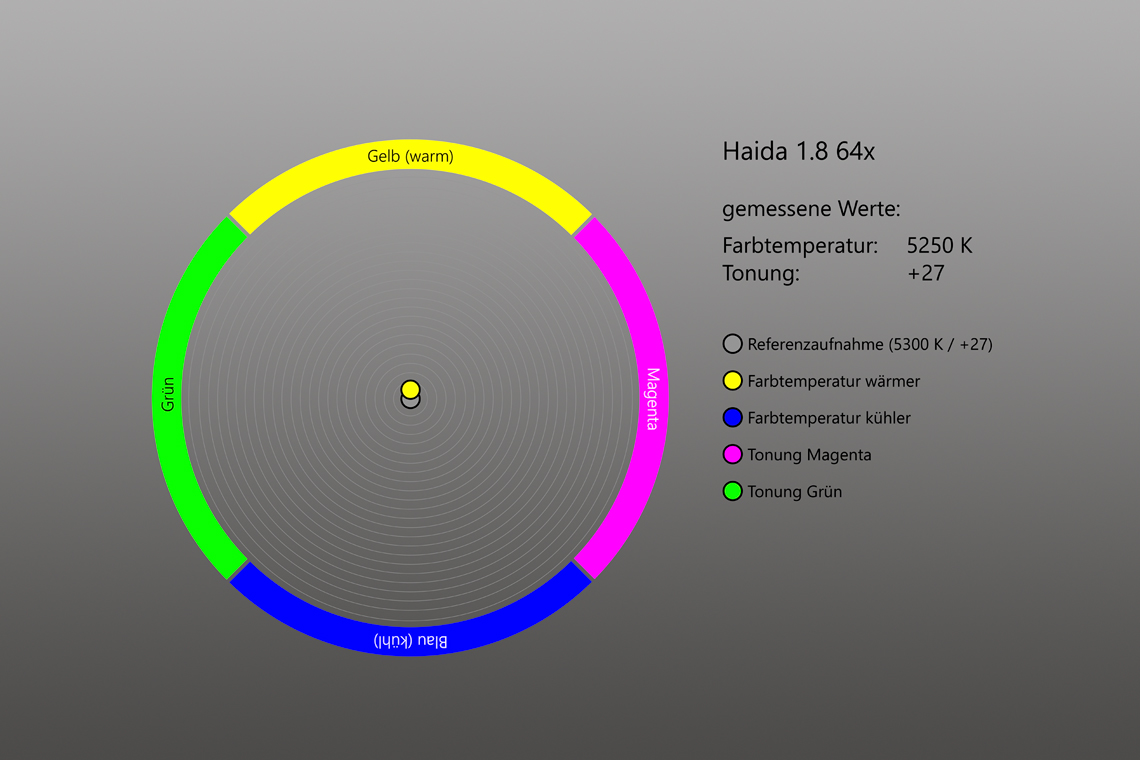
On the other hand, the measurement of the color temperature/tint was quite simple: I had only to to correct the 18 percent grau field of the ColorChecker in Lightroom. If the temperature values are below the values of the reference intake, this indicated a correspondingly warmer color shift, and vice versa a cooler one. For the tint values higher than the reference, there was additional green deviation and vice versa a deviation in the direction of magenta.
Part 1: Comparison within the manufacturer
Measurement results B+W
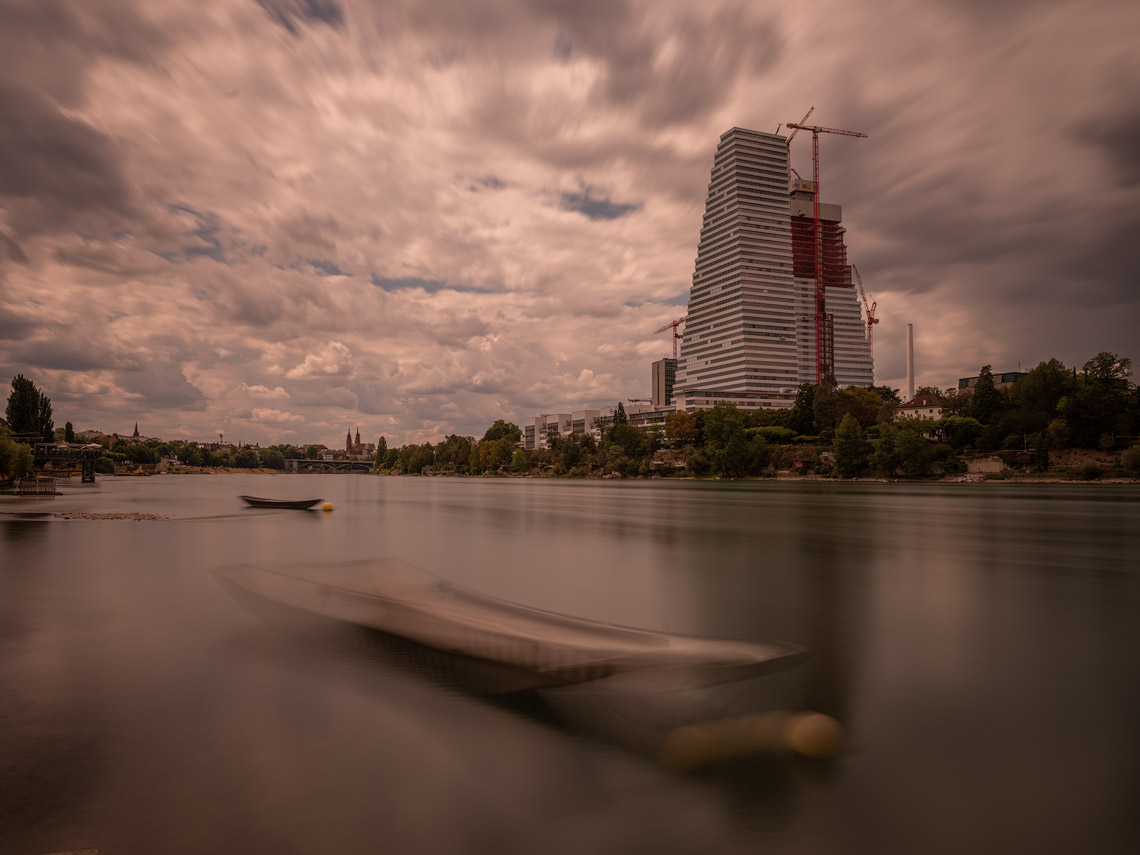
The B+W ND filters behaved generally as I expected. The ND 0.9 showed completely color neutrality, while the 1.8 have had cooler colors of 50 Kelvin. However, the Big Stopper seems to have a big color issue. Its color cast is so distinctive that I had to repeat the measurement several times in order to be able to exclude a measurement error. As can be seen in the comparison images, the Big Stopper shows a color temperature difference of remarkable 1200 Kelvin and a tint of 8 points compared to the reference image, resulting in an ugly orange-reddish color cast. This means that the Big Stopper from Bad Kreuznach falled completely out of the frame for the entire test series.
Measurement results Haida
The test results for the Haida round filters were inconspicuous and unsurprising. With the 0.9, no deviations were visible, while the 1.8 showed a slightly warmer color reproduction. The measurement results show that I was right. A difference of 50 Kelvin was measured. With the Big Stopper, the color temperature was exactly right, but there is a visible deviation of four points towards magenta.
Measurement results Kase
As I already know about the square filters, the round filters from Kase have a very neutral overall colour reproduction. With the 0.9, I can see no difference on the comparison images and also the measured values of the color temperature matched exactly, only a minimum tint difference was measured. The ND 1.8 was slightly warmer with 50 Kelvin difference and the Big Stopper at the same high level with a tint difference of 3 points in comparison to its reference.
Measurement results NiSi
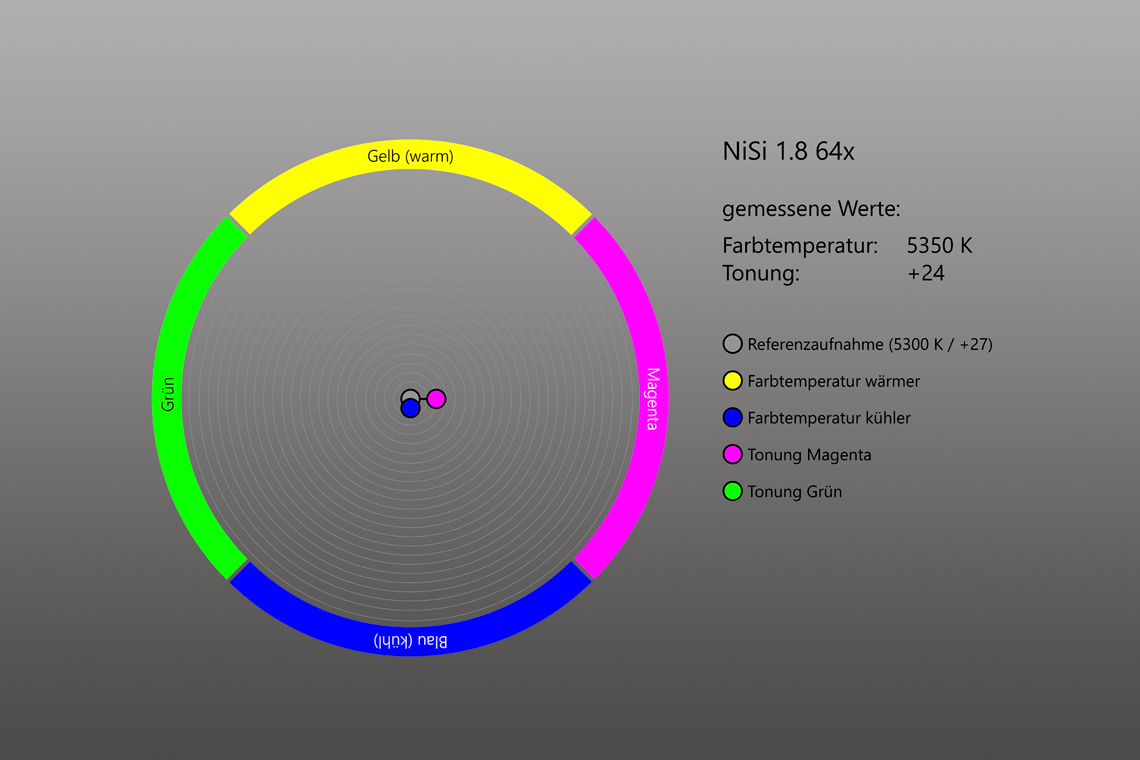
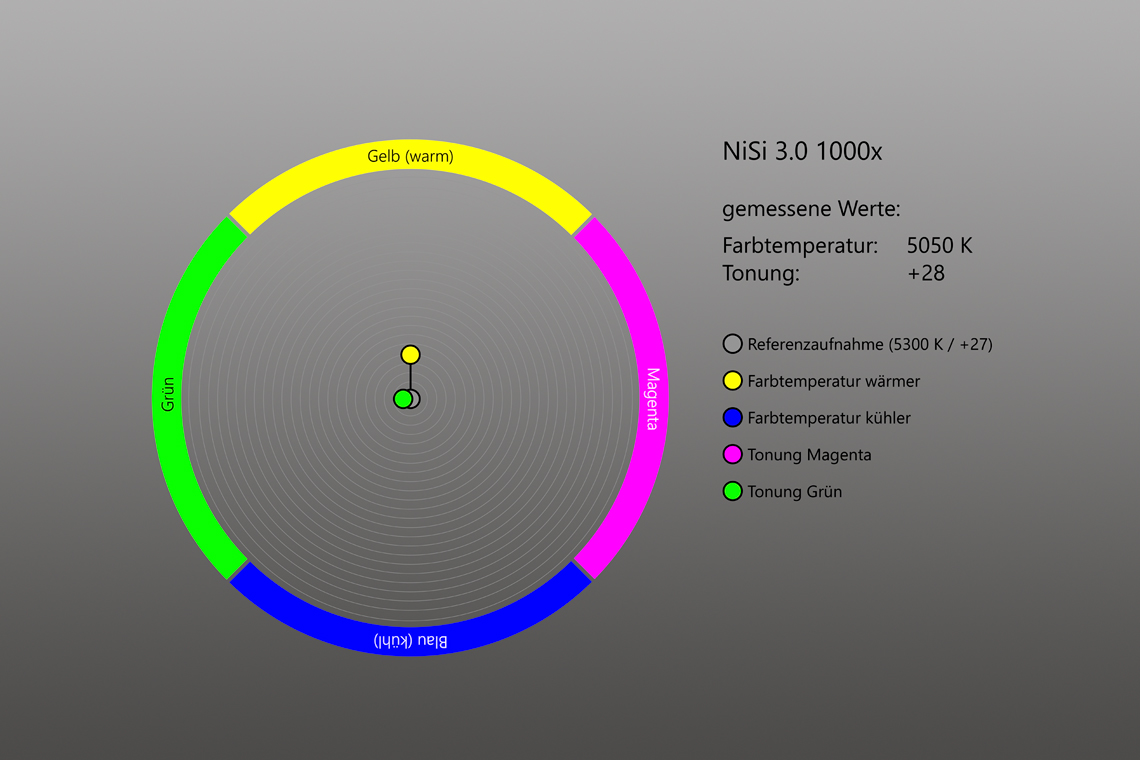
The measured values of the NiSi screw filters are at a comparable level as those of Haida and Kase. With the 0.9, the color temperature remained stable, only a minimal deviation in tint (1 point), which of course was not visible in the comparison image. With the 1.8, the colors were measured 50 Kelvin cooler with a difference of three points. Only the Big Stopper seems to be a little too warm (with 250 Kelvin) in comparison to the next competitors. However, with a minimal tint difference of only one point, which puts the deviation back into perspective.
Measurement results Rollei
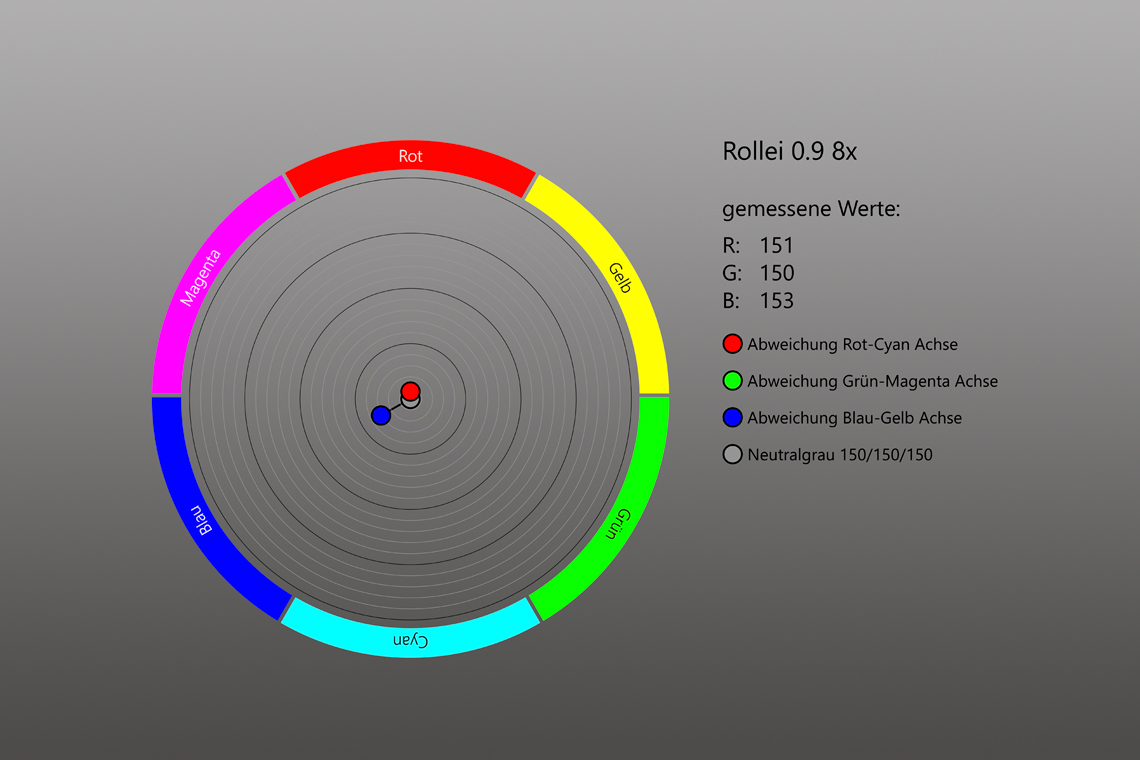
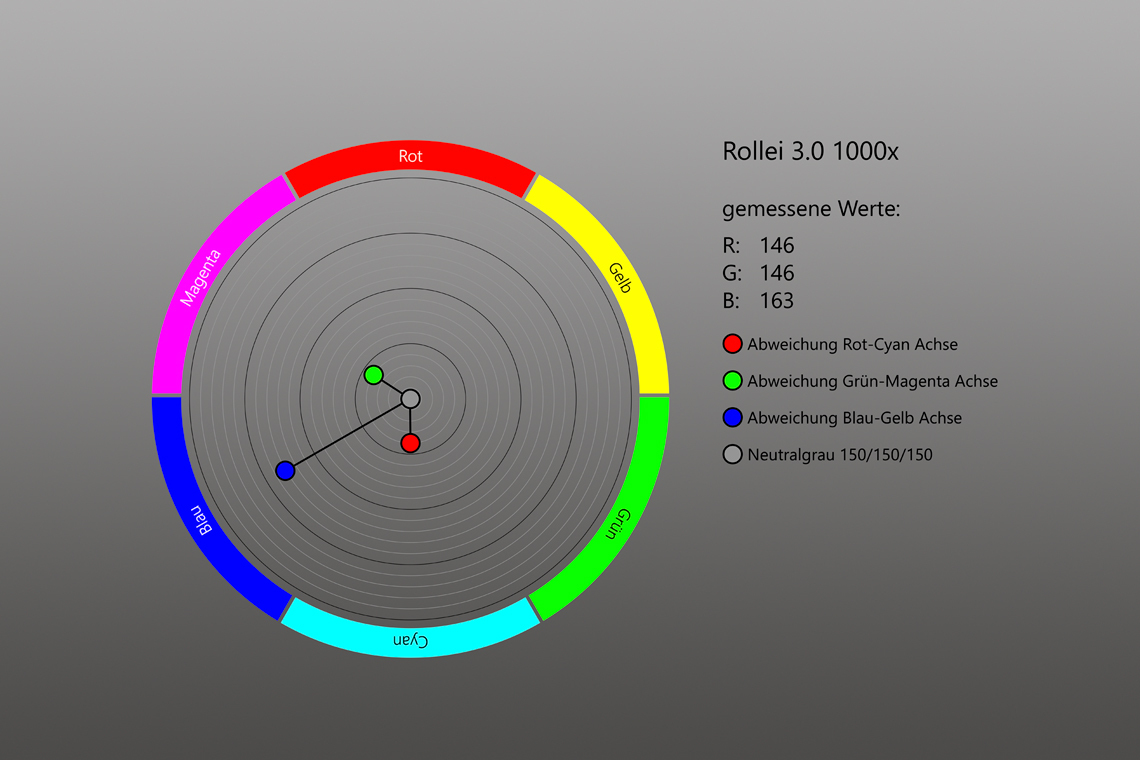
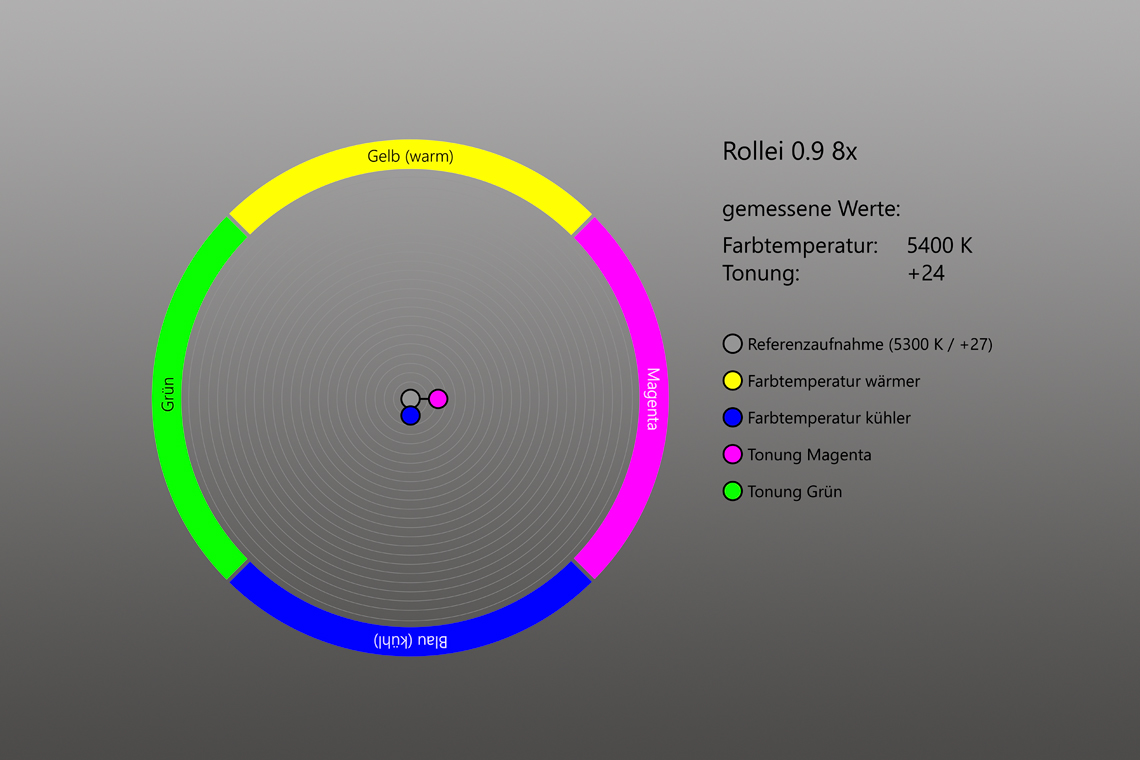
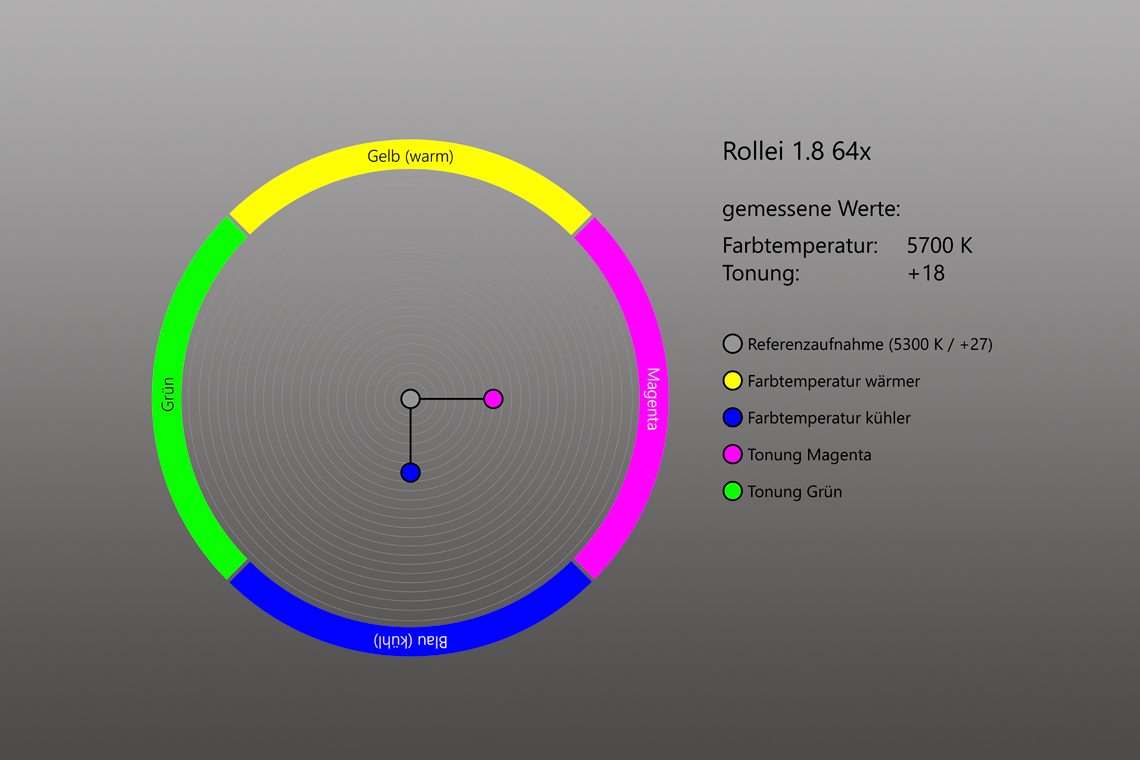
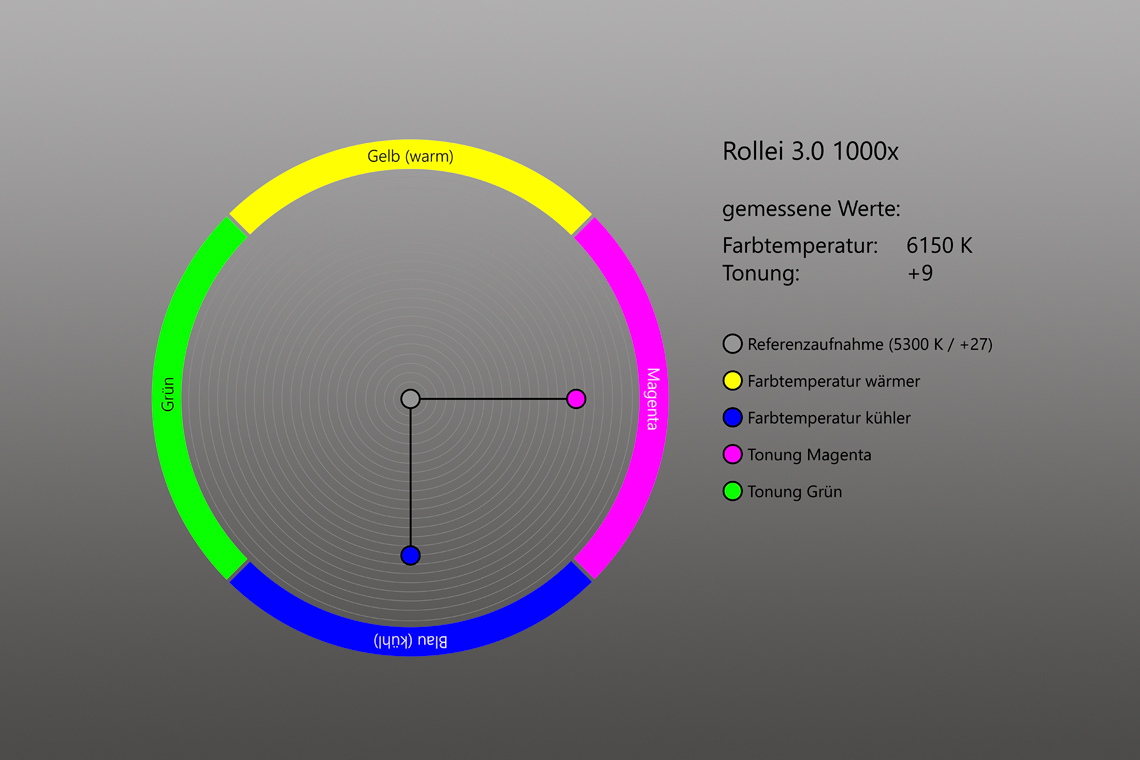
Now the last of the five candidates. My measurements showed a more or less noticeable deviation into the blue and magenta channel in all three Rollei filters, which was disappointed to me. With the 0.9, the cast seemed still acceptable with 100 Kelvin and 3 tint points of difference. But already the little stopper’s temperature dropped by a remarkable 400 Kelvin with a significant deviation into the magenta of 9 tint points. The measurement of the ND 1000x showed even more striking values: It deviated from the reference by remarkable 850 Kelvin, with a strong drift of 18 tint points towards magenta. Same as with the B+W 3.0, I had to repeat the measurements several times to be sure, the values were correct. Laboratory measurements and comparative images, however, speak the same language: the cool color cast with a strong portion of magenta cannot be ignored.
Part 2: Comparison across all manufacturers
The comparisons made so far have clearly shown how the filters behave within their brand and which filters have its strengths and weaknesses. Of course, as the lengthening increases, so does the challenge to color neutrality, and some of the candidates tested have obviously had some trouble with it.
In the following sliders I combined the comparison images differently. Manufacturers with the same strengths together across the board. Starting with the ND 0.9 ascending, as above, accompanied by its charts.
All Manufacturers: ND 0.9 8x
As can be expected from the candidates with 8x lengthening, there are hardly any differences visible between the manufacturers. The deviations are pleasingly marginal. However, there is a phenomenon that I announced, but which has not yet been mentioned: the lengthening factor. More on that below.
All manufacturers: ND 1.8 64x
With the Little Stoppers, the differences are already more apparent. The B+W presents slightly cooler, haida shows a minimally warmer colour reproduction. Kase and NiSi though run head-to-head, but I have the impression to recognize a hint of magenta in the clouds in the NiSi. The Rollei with its already mentioned magenta drift and the cool coloring was clearly beaten off.
All manufacturers: ND 3.0 1000x
At the Big Stopper’s the difference can be seen most clearly. While Haida, Kase and NiSi still perform well, B+W and Rollei stand out for their contrasting color casts. “You would actually have to screw these two filters on top of each other to get a neutral image,” was my first thoughts when looking at the comparison images. Of course, I did not put this spontaneous idea into practice, but who knows, maybe it would have worked. In any case, it is clear that, in my opinion, there is already a need for improvement in these two candidates.
With the B+W filter one could still understand the color cast; After all, these veterans have been on the market for more than 20 years, and it obviously wasn’t easy to produce such strong filters as it is today. And since sales of these filter type have probably declined steadily over the years, the dark glass may not have been reworked. I am convinced that the Schneider Group would be able to do this today. They have already built other high level equipment that can withstand significantly higher demands.
But the same does not apply to Rollei: their Big Stopper is still young and it shows such a clear blue color shift that I wouldn’t voluntarily screw this filter to my lens again. Maybe it would behave differently if the camera could adapt to him, i.e. if I had set the automatic white balance, but that’s a different story. In my opinion, Rollei should improve on this in order not to loose market share.
Part 3: The lengthening factor
In addition to an accurate color reproduction, a second value is relevant for the technical success of an image: the accuracy of the lengthening factor. A lengthening factor describes the value by which an image must be exposed for longer to achieve the same brightness as if it were photographed without a filter. It’s not a secret, that this so-called nominal lengthening factor does not match the real one for the vast majority of ND filters. So if you use a standard ND app, a regular exposure table or you simply calculate the exposure time, you will get a lighter or darker result. In most cases, this is a good way to handle and to brightening or darkening the image afterwards in the RAW converter. However, if you shoot at the ETTR limit and put on a ND filter with a smaller lengthening factor as the nominal, you might have unwanted burnt highlights in your picture.
With another series of tests in the laboratory, I wanted to quantify this deviation. To do so, I created identical pictures with and without filter at exact the same brightness and then reconciled the exposure times with my photo chart. Creating such images is very time intensive, if you want to take it very seriously, and I wanted to know exactly two decimal places. By the way, all test images were taken with a higher focal length and only the image center was used for the measurement. This is important to avoid measurment issues caused by any vignettings. That’s an important detail if someone wants to determine these values in his own filters.
In all the years I have been working with filters, I have not seen a single filter whose printed lengthening has actually been 100% consistent with the measured one. In this test, exactly one filter has been achieved for the first time. Of course, all manufacturers aspire to reach perfection, but it doesn’t seem to be that easy. In the meantime, however, the accuracy has become much betterover the years. In order not to pull this blog post unnecessarily apart, I refrain from showing a visual representation of the brightness differences. Everyone here knows how a underexposed and overexposed picture looks like. But I put the measured values in the table below.
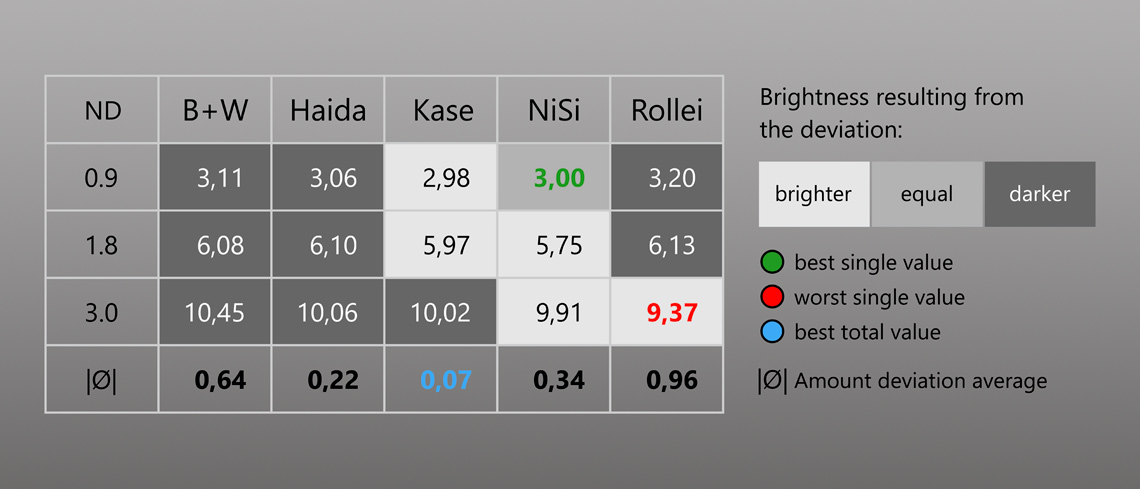
The largest deviation with +0.20 apertures for the 8x ND filters showed the Rollei 0.9, followed by the B+W with +0.11 apertures. The best value of all tested filters was measured at the NiSi 0.9: Deviation 0.00! But also Haida and Kase perform very well with +0.06 and -0.02.
The differences were also small for the Little Stoppers. The NiSi dropped slightly at -0.25 apertures and Rollei was not much better at +0.13. The best value was provided by the Kase 1.8 with a remarkable -0.03.
In the strongest ND filters category, it was the two candidates of B+W and Rollei who share the last ranks: the B+W was just under half a aperture too dark, the Rollei 3.0 with a huge value of -0.63 apertures aberration even worse. This was not only the strongest deviation of the whole test field, but also a value that results in too bright images. Burnt highlights are as good as sure, if you are not aware of it.
The best average for the entire candidate field was provided by the three ND filters made by Kase. The -0.02, -5.97 and +10.02 resulted in the fabulously small deviation amount of 0.07. On the other end of the spectrum the Rollei’s values, with almost an entire aperture difference in brightness. The B+W average, which came mainly from the 3.0er, was also not a joy.
The importance of the two properties
One can certainly discuss whether color shift and lengthening factor play a role in the purchase decision. Color casts can usually be corrected with one click in Lightroom, brightness deviations can also be compensated in the RAW development. Nevertheless: no one carries a gray chart to the location and put it into his pictures and often there is no neutral gray areas that could be used for correction. Or a photographer doesn’t take pictures in RAW. These are good reasons to buy the most neutral ND’s right at the beginning, which prevent you from unnecessary additional effort in the processing.
It’s quite similar with the lengthening factor: brightness corrections in JPG’s as a compressed final format lead directly into a loss of quality. RAW photographers usually can regulate deviations easily, but as mentioned above, one has to be careful with filters with too short lengthening factors. However, this mainly applies to photographers who work precisely to get the most out of their camera sensor and therefore expose their RAW data as right as possible (ETTR). This is the reason why I measure each new ND filter and enter the correct lengthening factor in my chart. In this blog post you can read how it can be done by yourself. If you want to be more modern, you can also enter the determined deviation into your mobile app (e.g. ND Calc2).
My conclusion
If you know where the filters have their weakness, then you can get good results with the most of them. Personally, however, I like it if I don’t have to think on all sorts of correction scenarios when taking pictures. Therefore, I would generally recommend to buy all these filters, that did not appear negative in the tests in any way. Additionally I would advise against mixing ND filters from different manufacturers, because you will get the different characteristics of each manufacturer in your portfolio, i.e. a little green of manufacturer A, then cooler tones of manufacturer B and a magenta cast of manufacturer C.
Since I already use different square filters by Kase and am very satisfied with it, I would of course like to stay with Kase. Not only because of their excellent color fidelity, the shock resistance (Wolverine series) and durable multi coating, which never let me down after years. However, there is also a good colour consistency and a good coating available at products of other manufacturers, I don’t not want to hide that.
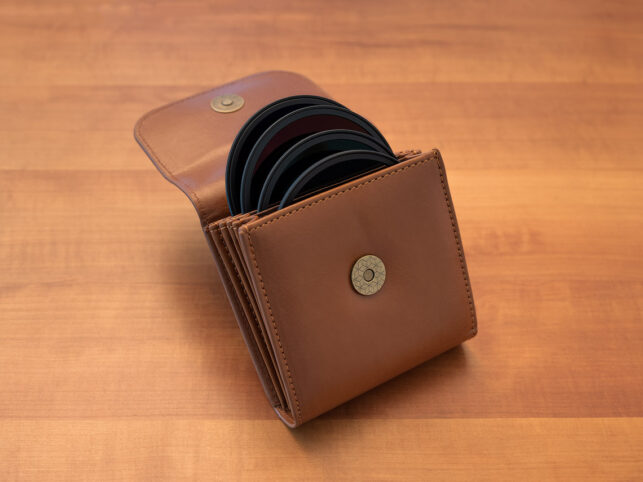
The tested Kase Round Filter kit, however has a great key feature, the magnetic adapter ring on which the photographer can apply round filters with ease. This system is simply awesome for two reasons: to change a filter takes less than a second. Screwdriving with filters from other manufacturers doesn’t not only costs time and nerves, but there is always a risk to drop down the filter at every unscrew procedure. In the tests, I always had to protect the filter with one hand and rotate it with the other. In doing so, I also unintentionally caught on the glass, although I proceeded cautiously. I don’t want to imagine this in difficult conditions, like on a waterfall in the rain or in the epic light in Iceland, where you simply don’t want to deal with technical stuff. With the magnetic system it only takes a short grip with three fingers – done. And as if that weren’t thought far enough, the set also has a great magnetic lid. This allows the adapter ring to remain on the lens. It’s that easy. For the current set by Kase there is also a magnetic polarity filter and a compact bag made of artificial leather with noble magnetic clasp to accommodate everything safely. The small filter bag itself is extremely high quality with a great feel and is designed very spacious that all four filters and, if necessary, several adapter rings can comforably fit in it. Click here for the magnetic round filter kits and ask me for a 10% discount voucher.
Legal notice
The images and measurement data created for this blog post are products/values that are tied to the involved test products, devices and environments. It is possible that other measurements of similar products may lead to slightly different values and thus to different conclusions.
I am brand ambassador at Kase Filters Germany, but this does not stop me from carrying out independent tests. In all photographing and measurements activities I have proceeded uniformly and with due care. Nevertheless, this blog post is of course not free of my personal opinion, my experiences and assessments.

