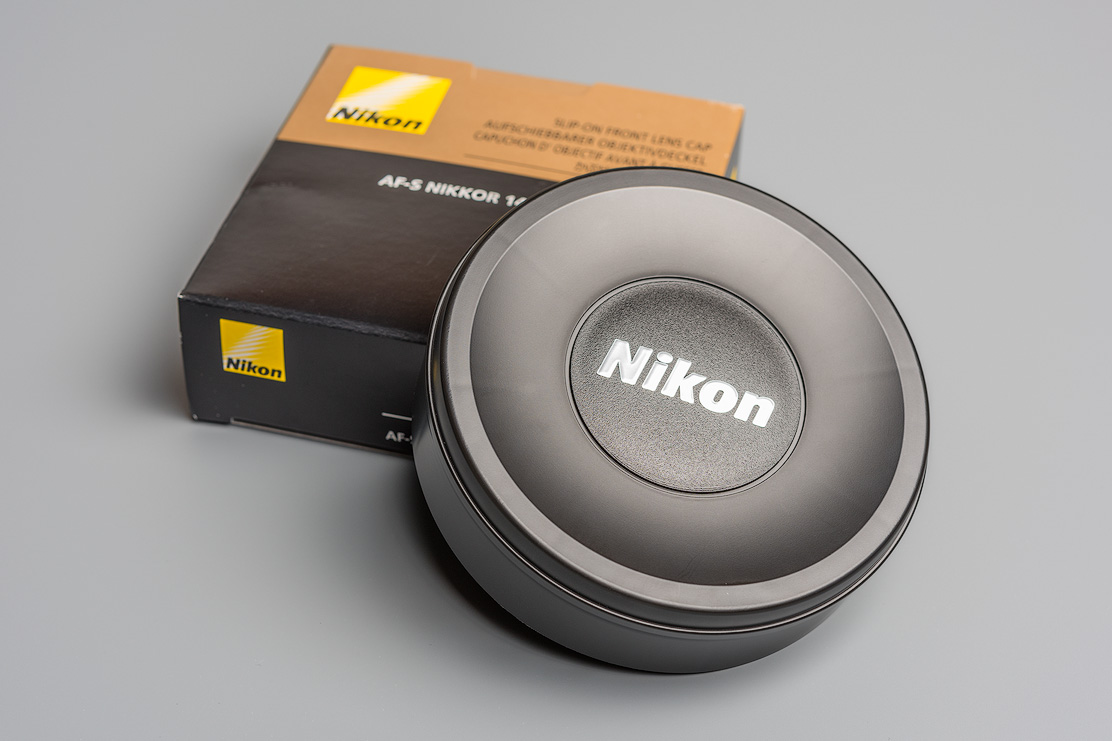
Which owner of a Nikon 14-24mm f/2.8G ED doesn’t know it? When using a Lee SW-150 or Haida 150mm Series filter holder on this great lens, can no longer put the lens cap LC 1424 completely on the lens. I have found a simple and inexpensive solution for this problem. In this blog post I’ll present the details.
In summer 2011, when I took my newly acquired Lee SW-150 filter holder on a trip to Japan, I still used the original Nikon lens cap, which I just put on the remaining part of the lens hood. In the land of the rising sun, I was however quickly confronted with an unexpected problem: the lens cap fell down from the lens several times and went almost lost. In the backpack I often found the cap unsecured in front of the lens. I was probably just lucky that the curved front glass didn’t get any scratches. A quick solution was needed.
Which solutions do the filter holder manufacturers offer?
When acquiring the Lee SW150 Filter Set, this black neoprene lens hood enclosed was enclosed.
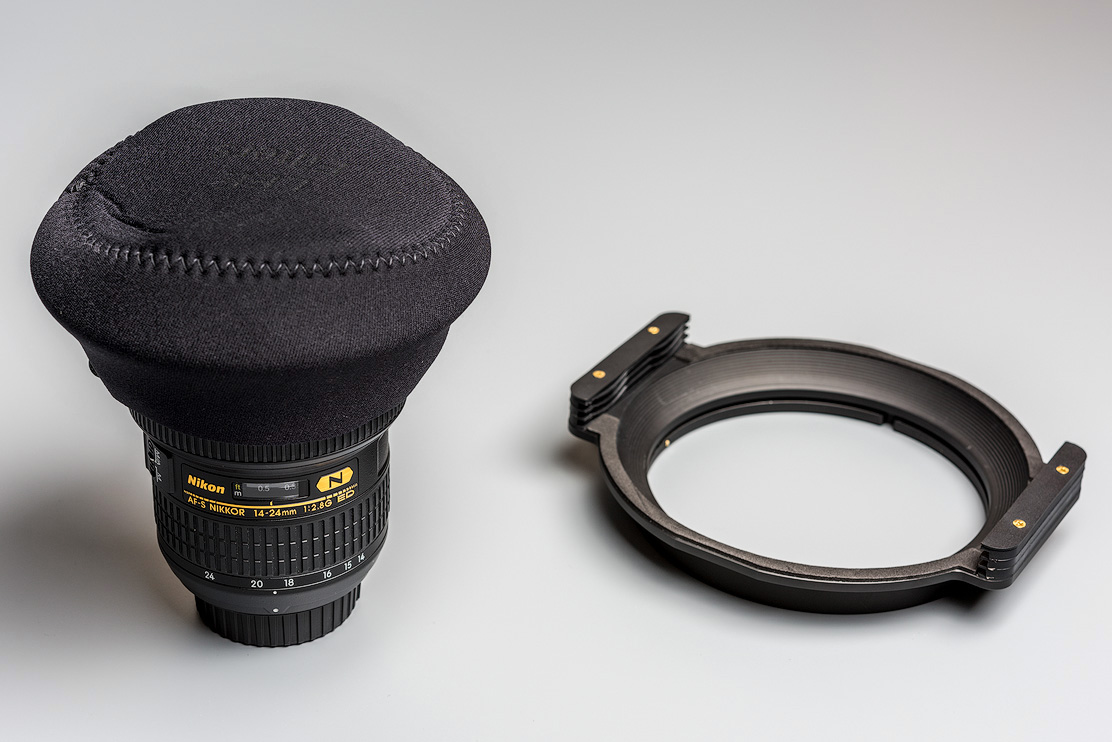
Who wants to pull the neoprene hood over the lens, requires both hands, an additional third hand should hold the lens, a fourth one the filter holder since it’s not possible with it attached. This is simply too cumbersome and there is an increased risk for the equipment to fall down. By experience I know that most landscape photographers prefer keeping the holder permanently attached, at least the ring system. As if these disadvantages were not already enough, comes that this neoprene cap is a real dust catcher. A conventional lens cap can be blown out, not so the neoprene cap.
The Chinese manufacturer Haida who produces the Haida 150mm series filter holder, will not provide the customer with an any lens cap. Probably for cost reasons they didn’t attach a hood. Or maybe the Chinese engineers have simply recognized that it is more consistent, not to offer a solution but a half one. If you don’t want to dispense a hood, have to look at a third-party manufacturers such as OP/TECH.
What solutions prefer other photographers?
Most landscape photographers fix the original Nikon lens cap with a rubber band. Jorge Santos, a photographer from Brussels e.g. works with this solution and has written an interesting blog post about it. Other photographers swallow the bitter pill and continue to put the neoprene hood on the glass, despite evident disadvantages. In a photo forum I also found a thread about a desperate attempt mounting the original hood with the help of duct tape patches to minimize the risks of loss. I didn’t settle neither for a rubber band, nor wanted a tacky hood and furthermore not wouldn’t less than ever have a neoprene hood on my precious glass.
Why does the lens cap drop off?
The majority of the lens caps on the market are snap-on types. This has always been so and is very useful for regualar lenses. Exceptions are hood caps for telephoto lenses above 300mm and special lenses with convex front elements. Due to the exceptional design of the Nikon 14-24 f/2.8G ED, it wasn’t possible to build in a snap-on mechanism. The lens has a tight hood, which surrounds the curved front element. The recently introduced counterpart, the Canon EF 11-24mm f/4.0L USM features a far better cap solution despite its comparable design.
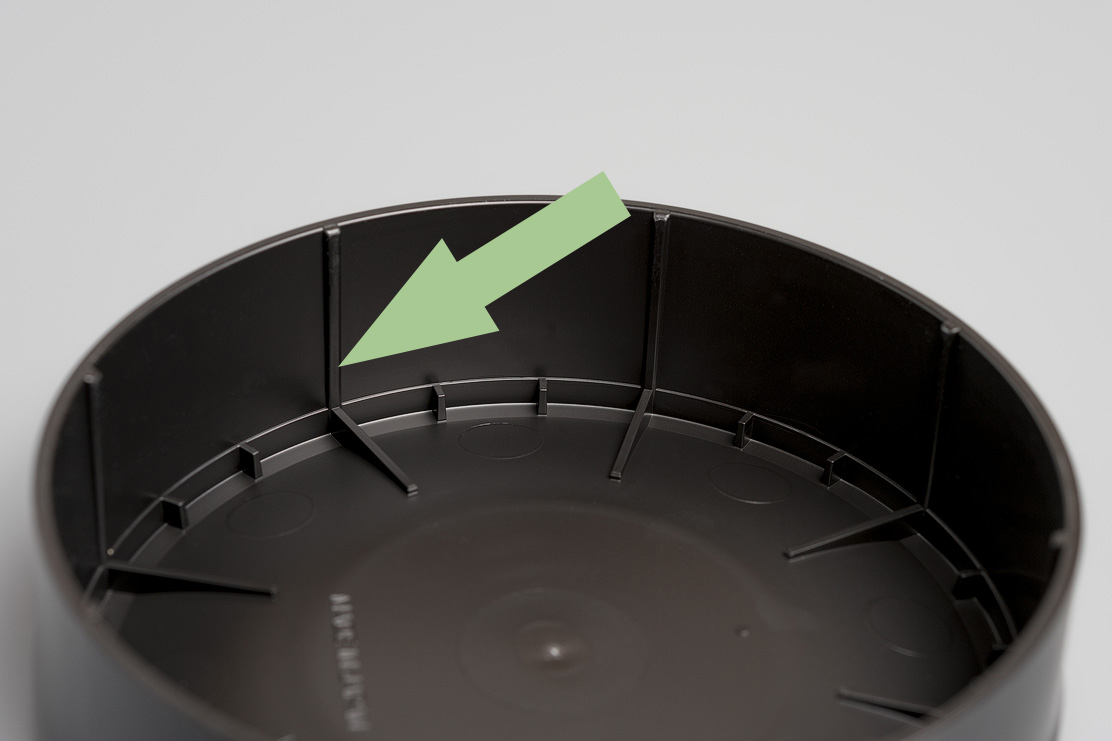
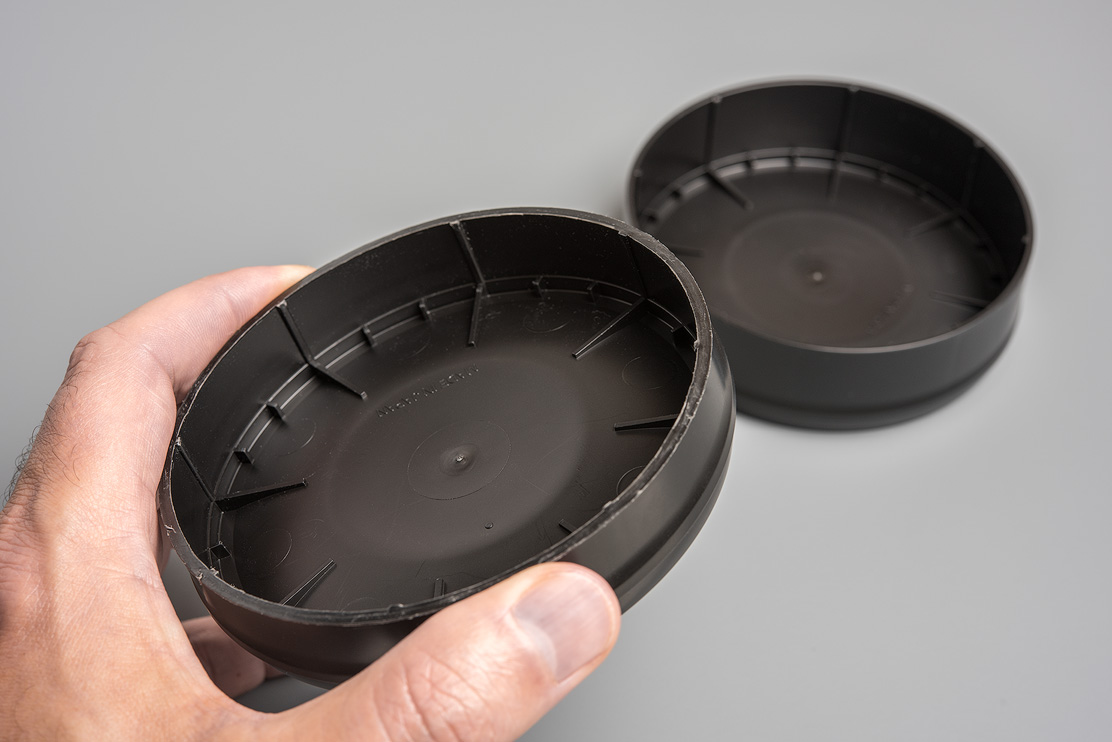
At Nikon, the cover is simply put onto this tight lens hood. As seen in the figure, inside the cap there are eight tapered rims, providing stability. The deeper the lens cap can be fitted onto the cylindrical lens hood, the more pressure the lens hood performs onto the lens hood and the harder it fits. Ideally, the perfect height would be 24mm (0,94 inch). To get a perfect sitting cap, we have simply to remove a portion of the lid edge.
How much to remove exactly?
Let us first determine the distance from the attachment ring to the lens hood’s upper edge. This distance is 14.5mm (0,57 inch).

If we subtract this value from the internal height of the lens cap, we get 9.5mm (0,94 inch), because of the inside height of 24mm (0,37 inch), measured from the top edge to the elevation’s bearing surface.

That’s the theory. In practice it has to be considered that the lens will be used sometimes without a filter holder. When having then the so shortened lens cap mounted, dust could enter through a small gap between lens cap and the tulip shaped lens hood at the lowest part.
See here in the following magnification:
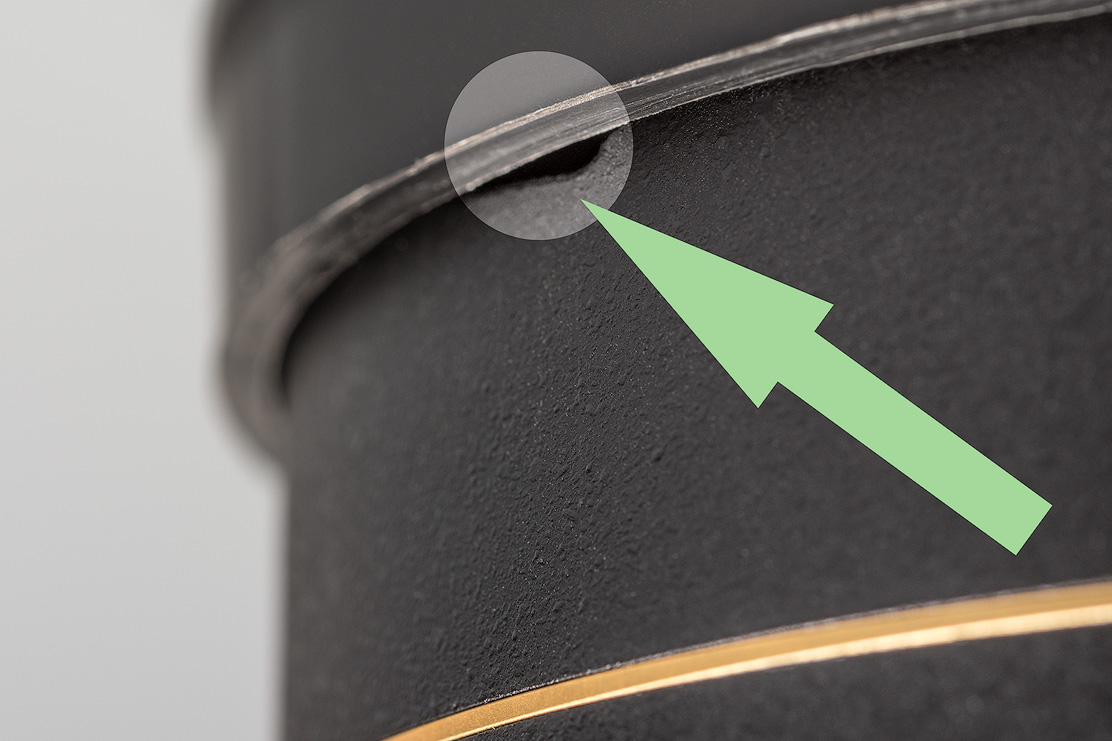
If you want to avoid potential dust on the lens, then you should consider to cut only 7mm (0,27 inch) instead of 9.5mm (0,37 inch). The only limitation is a minimal compromise with the holding ability.
I finally decided for the full cut of 9.5 mm (0,37 inch) because it’s more important for me to have the lens cap holding really well. However, everyone has to set their own priorities. Only while shooting northern lights or astro I remove the attachment rings, otherwise my lens heater by Kendrick Astro Instruments couldn’t be mounted properly. For this situations I have therefore bought a second Nikon LC-1424 for little money and it was definitely worth it.
What is needed for the conversion?
Before we start, an important note: The following conversion will be at your own risk. You can’t hold me liable for potential damage or injury when following this instruction. Anyone who is in doubt about his abilities, leaves the conversion better to a specialist.
The following material is required for the conversion:
– a lens cap Nikon LC-1424
– a writing pad e.g. from Post-it
– a sharp cutter
– a hard, flat underlay, e.g. a sturdy desk

Initially, the exact height of cut should be marked on the lens cap. Either 9.5mm (0,37 inch) or 7mm (0,27 inch), depending on the intended use.
Then you place the lens cap on a hard, flat surface. With the aid of the Post-it writing pad it’s easy to approach step by step to the marked level by removing paper after paper. It is important to use a razor sharp knife and to place it flat on the Post-it pad to get the blade orthogonal onto the cap’s side surface.
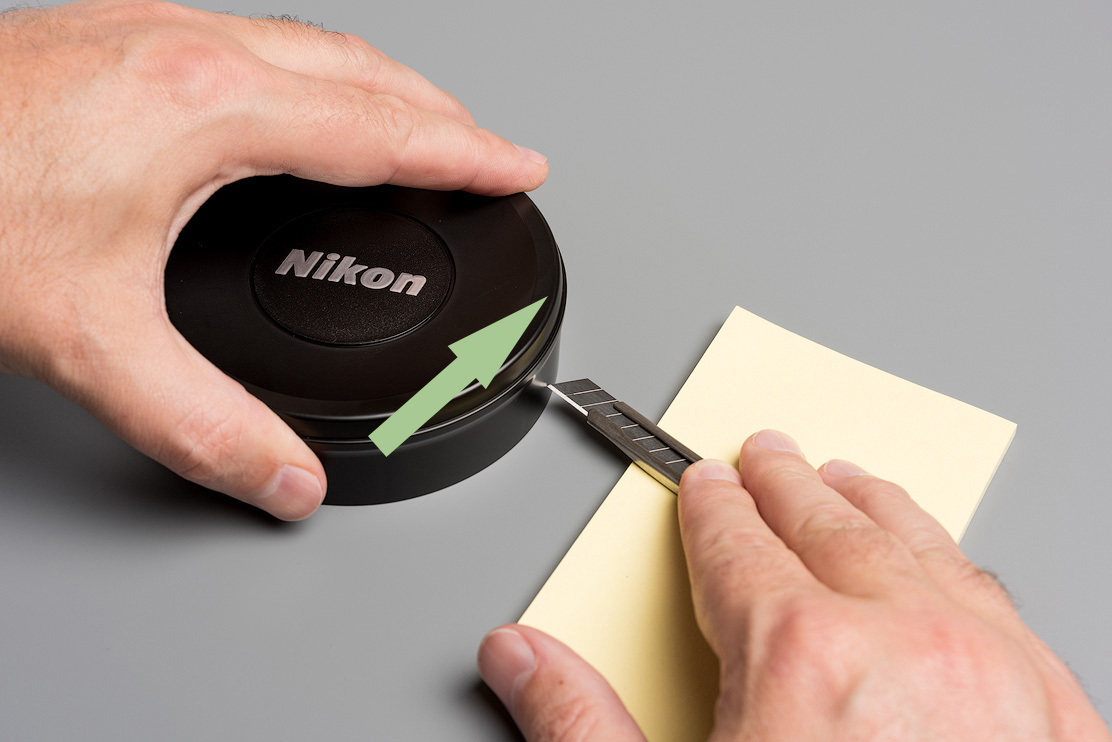
After that you can start to gently turn the lens cap gradually counterclockwise, whilst the cardboard knife remains in place. You can get a best clean cut edge by low pressure. Thus the entire process takes a little longer, the result counts more than speed. I guess I needed for the whole cutting about 60 to 80 full revolutions. Maybe a few more. If you doubt, just keep turning.
Shortly later a notch can be seen and it will lead the blade. You can now increase the pressure slightly. In the final stage, you should reduce the pressure again to avoid any damages and to get a cleaner result. If you want a nicer finish, you can bend the edge using a very fine-grained sandpaper.
What is the result of?
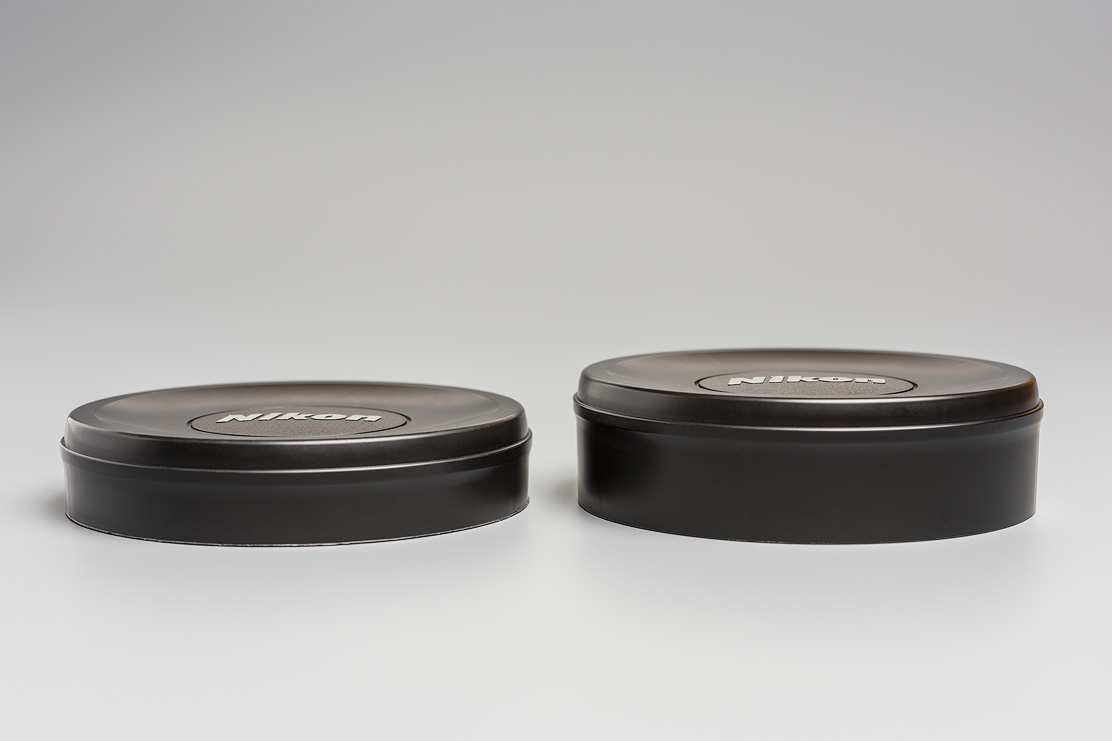
Here the two lens caps in direct comparison: On the left the shortened version, on the right the original Nikon LC-1424:
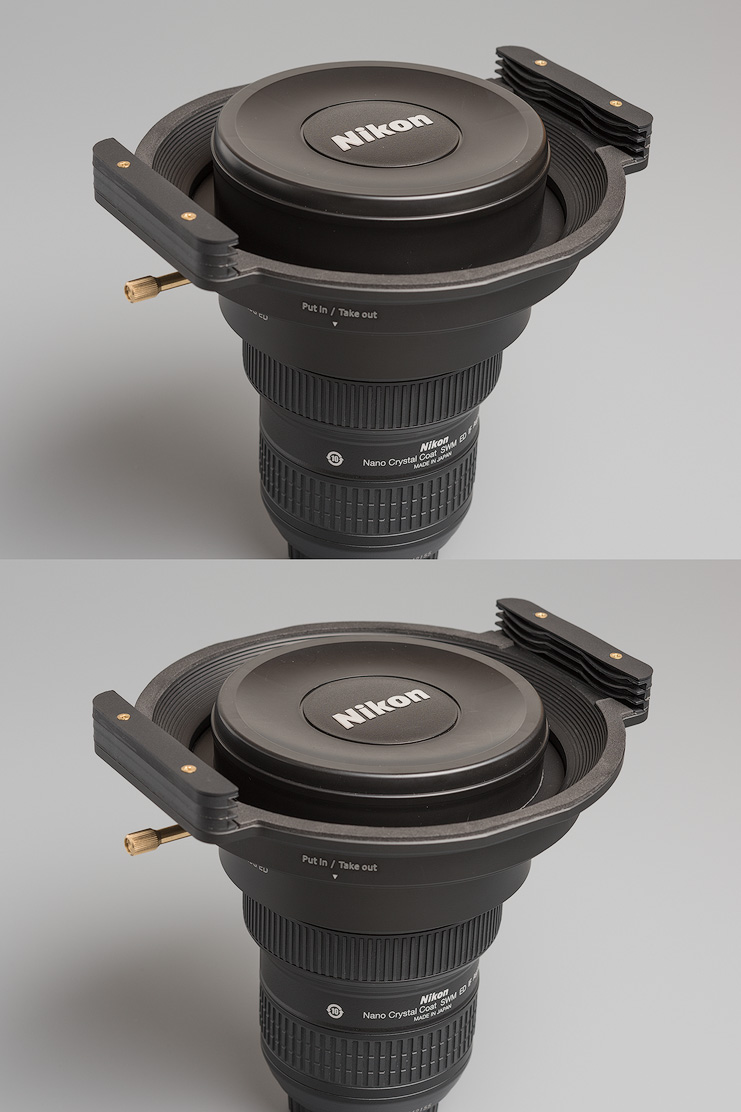
Both caps, mounted on the Haida 150mm series filter holder. Above, the original cap, below the shortened version.
It’s the little things making a photographer’s life more comfortable. Thus I owe a debt of gratitude to the German’s photographer Dirk Wiemer with his blog post for attaching a cable release to the tripod. He has inspired me to share my small achievements with the world.
I use my revised lens cap now for several years and I am really happy with this solution. Even after switching to the Haida 150 series filter holder I could just continue to use it without any restriction. My “New Nikon LC-1424 Mark” holds reliable in any imaginable photographic situation.